How to Customize and Secure a WordPress Login Page
Do you want to customize and secure a WordPress login page for your website?
Users will often engage with your login page, if you run a WooCommerce store or membership site. However, because many sites use WordPress, your login page may look like everybody else’s. Plus, it can be easily exploited if you don’t take extra steps to protect it.
Fortunately, you can customize your login page to improve your User Experience (UX).
Additionally, you can secure the login page to better protect your WordPress website against certain types of attacks.
This post will take a closer look at why you should customize your WordPress login page. Then we’ll show you how to edit this page and explore several methods to strengthen the login process.
Let’s get started!
Why Should You Customize Your WordPress Login Page?
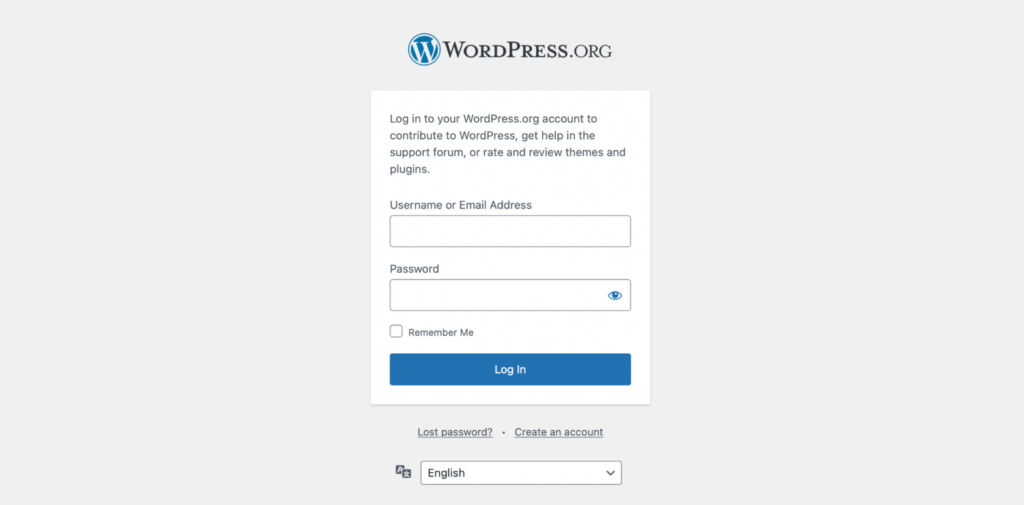
Your website’s members will frequently use your login page. This presents an excellent opportunity to reinforce your brand. For example, this is what the generic WordPress login page looks like:
A custom login page can create a stronger impression by showing a unique design of your business. Plus, customizing the WordPress login page creates a sense of continuity and consistency across your site. Users will understand that they’re still interacting with your website and haven’t been redirected elsewhere, which can increase trust:
Furthermore, a custom login page can be helpful if you’re making a website for a client since you can provide something original and distinctive. Otherwise, you would be delivering a WordPress site with a generic login page.
Customizing Your WordPress Login Page with LoginPress
Of course, you can manually customize your login page. However, this process is much easier with a plugin like LoginPress:

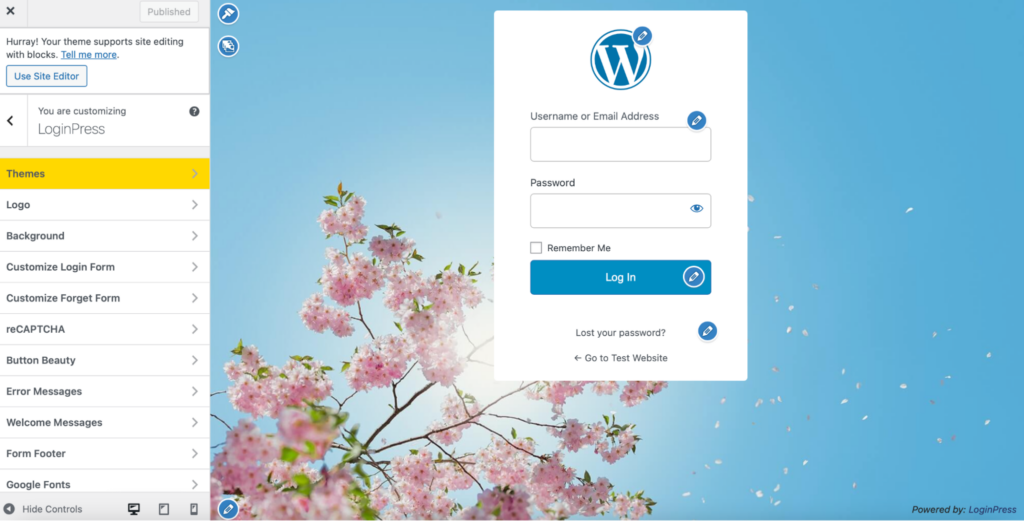
Some of this plugin’s best features are its customization options. If you head to LoginPress > Customizer, you can easily change your login page’s fonts, colors, and logo to whatever you prefer.
Plus, you can even modify the error messages users will see on their screens when they use incorrect login details or forget their passwords. To access this setting, navigate to LoginPress > Customizer > LoginPress > Error Messages.
Better yet, you’ll see a live preview to the right of your screen as you make your edits in the tabs at the left:
You can take advantage of seven add-ons, including the Login Logout Menu and Social Login. With the Pro version of LoginPress. In addition, you’ll also get access to Google fonts and pre-designed login templates to help you design your perfect page.
Now, let’s see how you can use LoginPress to create a custom WordPress login page.
Creating Custom WordPress Login Page (Step by Step)
Step 1: Rebrand the Login Screen
The first thing to do is to install and activate LoginPress. Then, you can customize the login screen by changing its colors and fonts, along with adding your brand’s logo.
To get started, head to your WordPress dashboard. Then, navigate to LoginPress > Customizer in the left sidebar. This takes you to the LoginPress Customizer screen, where you can edit your login page.
You might want to include your logo (or your client’s logo) on the page. To do this, use the tabs to the left of your screen.
Click on LoginPress, followed by Logo:
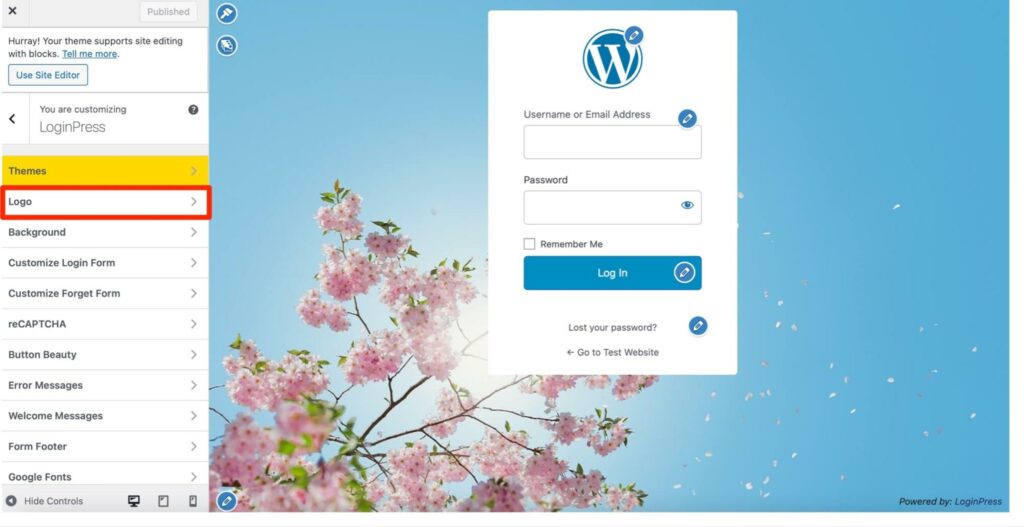
Or you can choose the element you’d like to change by clicking on it directly on the preview screen of your login page. Therefore, select the WordPress logo icon in the editor and click on Change Logo:
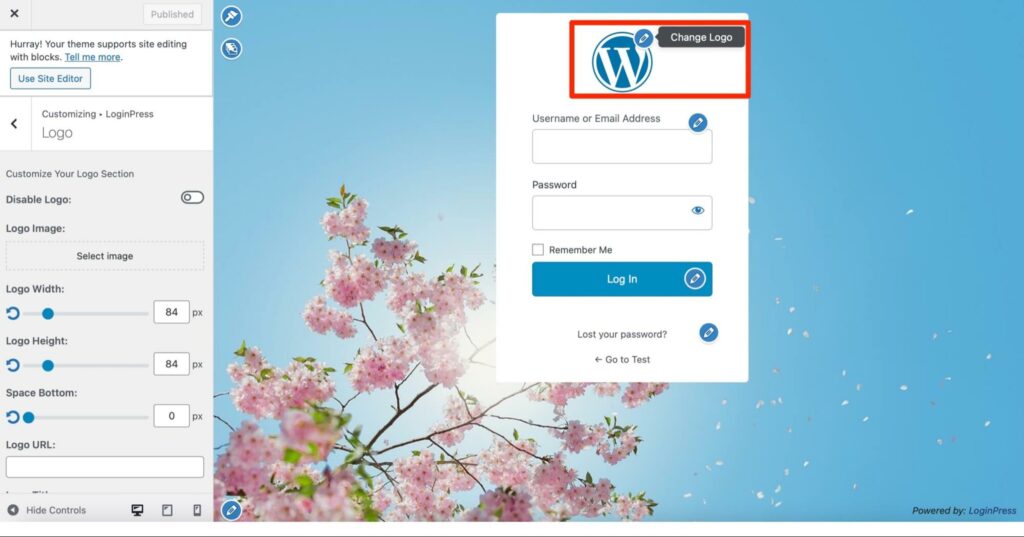
This will bring up your logo customization settings on the left of your screen, such as spacing and size adjustments.
Next, click on the Select Image Button to choose a file from your computer:
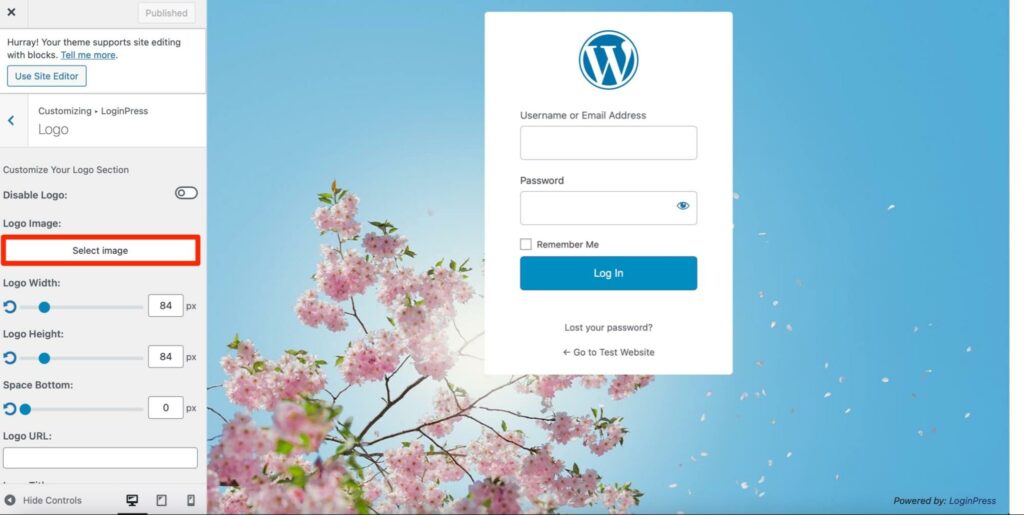
Then, you can adjust the image’s width, height, and spacing. Under the Logo URL, you can add a link to your WordPress website.
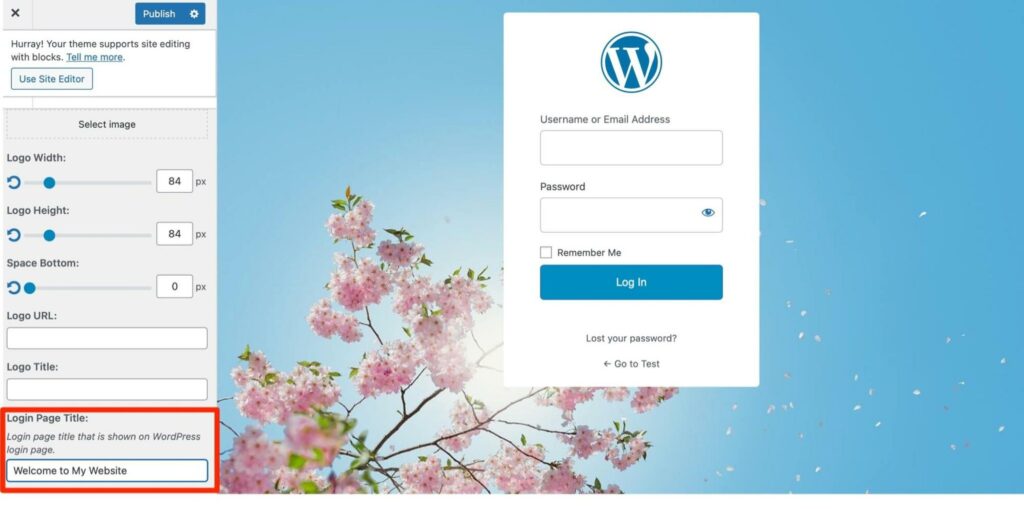
If you scroll further down, you’ll arrive at the Login Page Title right at the bottom of the settings. Here, you can add a login page title to display to users.
For instance, you might stick with the name of your website or label the page something like “User Registration” or “Sign Into Your Account”:
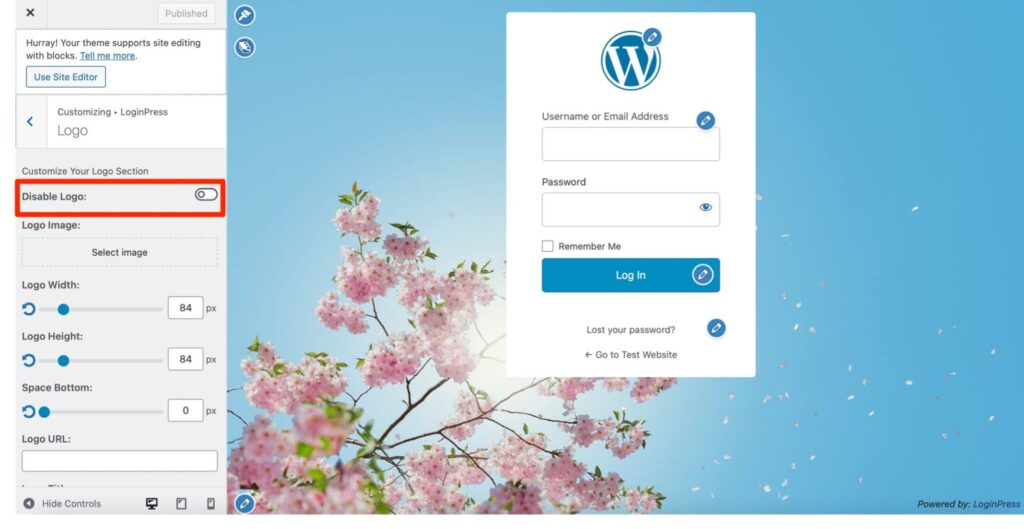
However, you might prefer to leave your logo blank for now if you haven’t yet settled on a design. If this is the case, you can use the slider at the top of the sidebar to disable the logo:
Now, it’s time to change the background image of your custom login page.
Step 2: Change the Background Image
Swapping out the background image is another excellent way to rebrand your login page. To get started, go to your WordPress dashboard. Then, click on LoginPress in the left sidebar and select Background within the LoginPress Customizer.
Here, you can upload your photo or choose a stock LoginPress image that you like better:
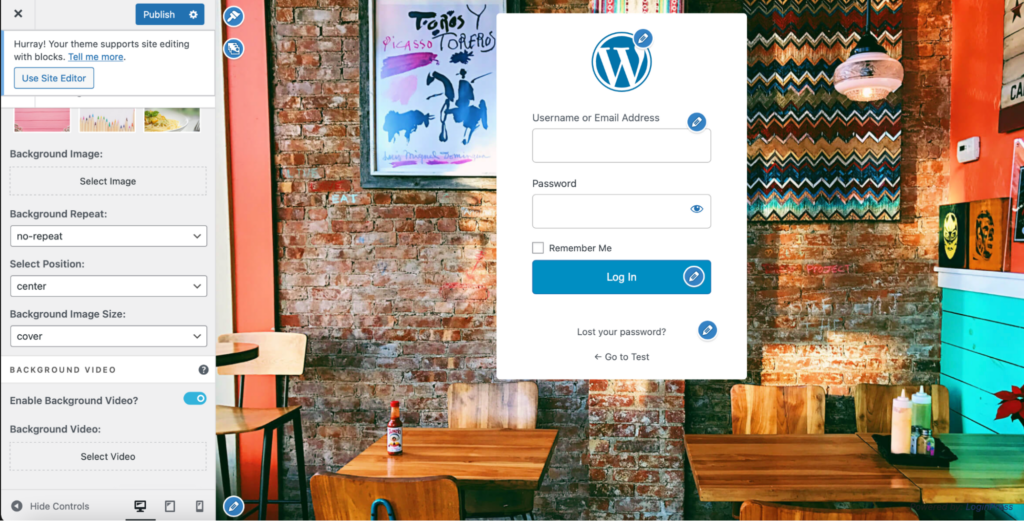
If you’d prefer a video background, use the toggle on/off button to Enable Background Video. Then, click on the Select Video option to upload a video from your system.
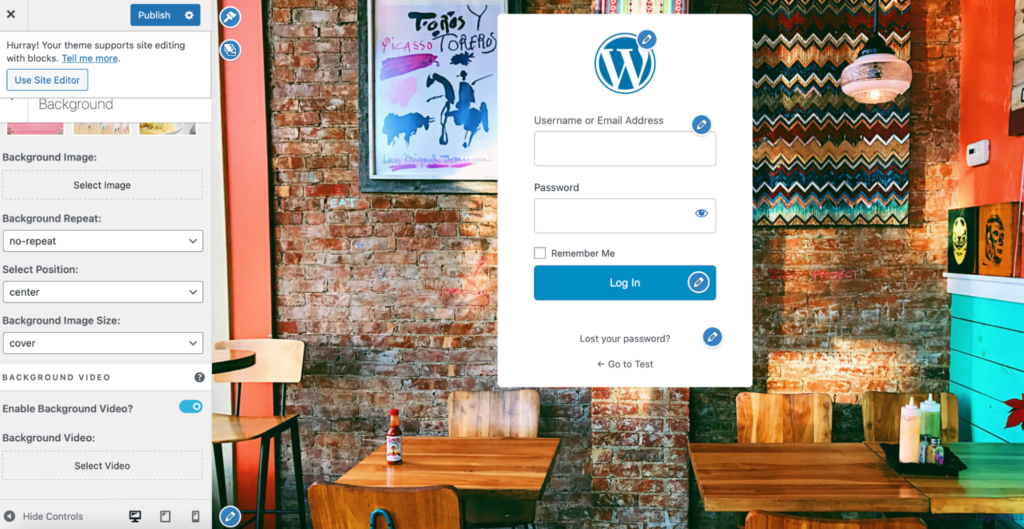
You’ll also find additional settings within the left sidebar. Here, you can change the position and size of your background image. If you want to use a video background, you’ll have options to configure how your video displays, such as muting the audio.
Step 3: Edit the Login Form
Now you’ve added a logo and applied a custom background to your login page at this point in the tutorial. However, you can go one step further and customize the login form itself. For instance, you might want to change the background color or adjust the labels inside the login form.
To get started,
- Go to your WordPress dashboard.
- Then, click on LoginPress > Customize.
- Then, select LoginPress > Customize Login Form.
Here, you can change the background of the login form. For example, you might select an image from your computer under Form Background Image:
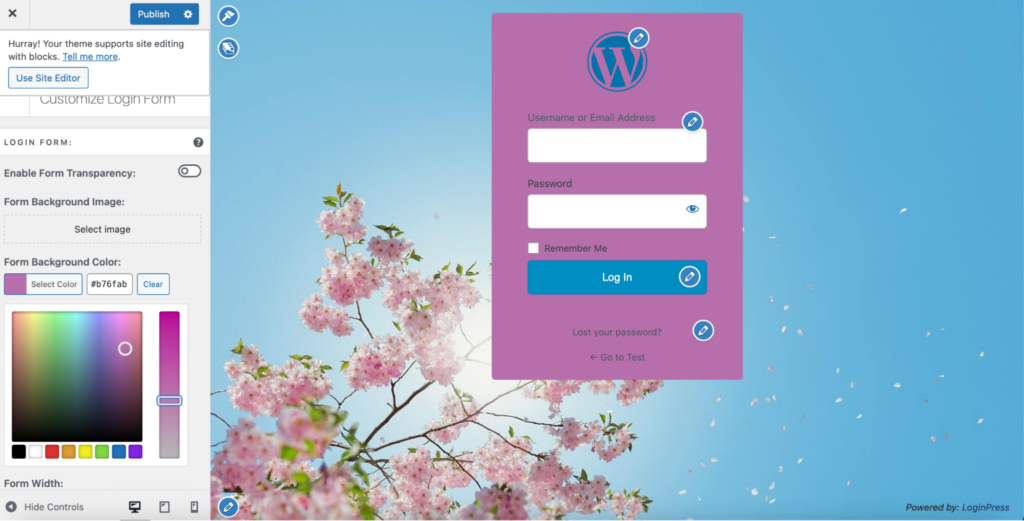
If you would prefer to use a block color for the form login page background instead, click on Select Color under Form Background Color to apply a unique shade to it:
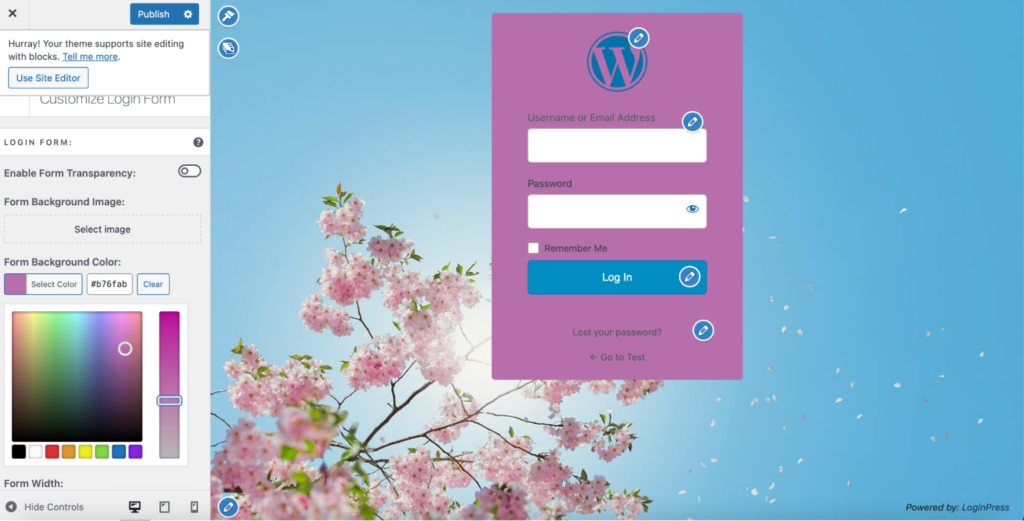
Then, you can expand the width of your form under Form Width, round out the corners with the Form Radius option, and adjust the transparency level with the Form Opacity setting.
You can also remove the login form background by making it completely transparent. You can do this by using the toggle on/off button where it says Enable Form Transparency:
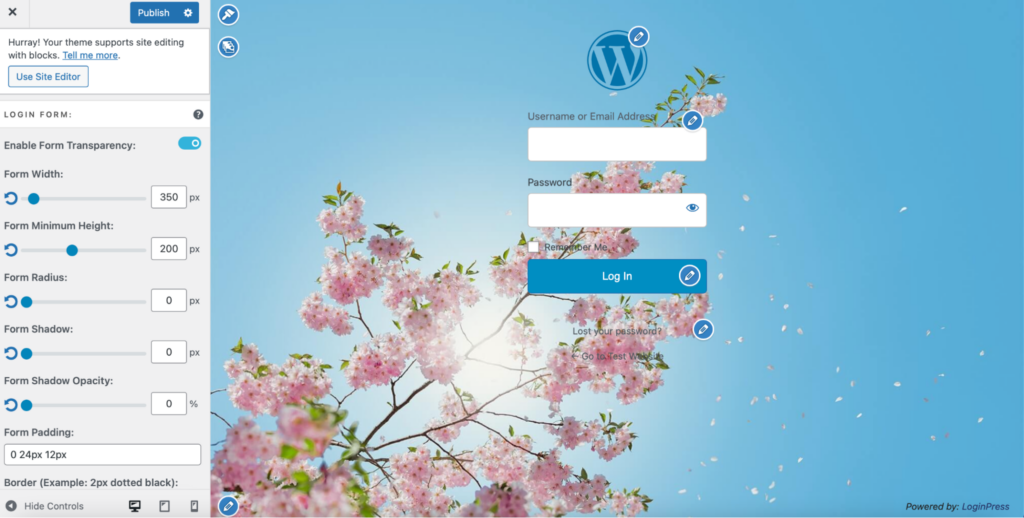
This can be a good idea if your login page has a bustling background or an attractive design that you don’t want to distract from.
Now, you can also change the text labels in your form. Scroll further down and find Input Field Label Color. Then, choose a text color that makes your labels easier to read. For example, you might want to make your text field labels black to stand out against a colored login form background:
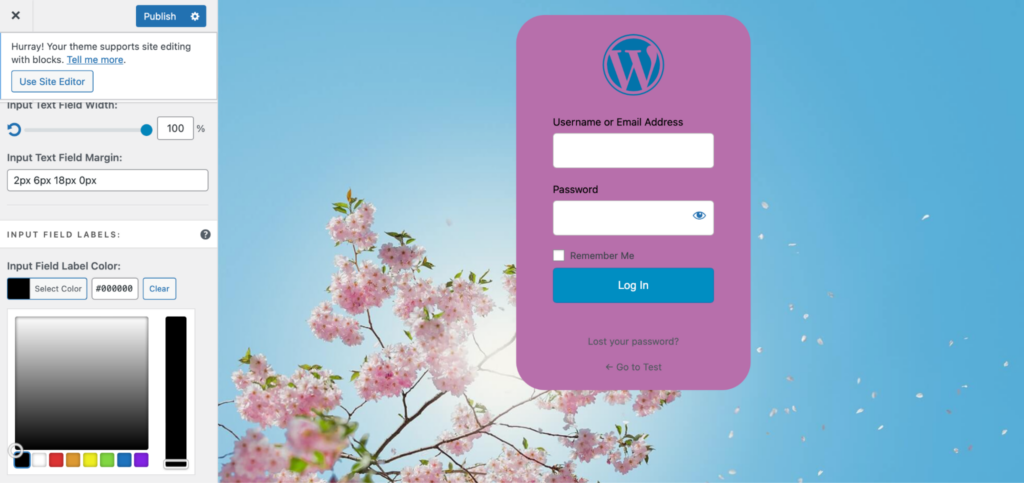
Better yet, you can even change the color of your Remember Me label to match your Username and Password text. You’ll find this option under Remember me Label Color.
Right below this, there is a feature to increase the text’s size. This feature can be important when designing an accessible login page, allowing you to cater to elderly users and people with visual impairments.
Step 4: Replace the Error Messages
To customize your WordPress login page further, you can replace the default error messages. For example, when a WordPress user can’t access your page, they might see a message such as “Incorrect Username” or “Email Already Exists.”
You can use the LoginPress plugin to display custom error messages to your users. For example, provide more information about the error (and/or the solution). This setting can be helpful for users who need to become more experienced with WordPress. It’s also a great option if you don’t provide ongoing tech support to clients.
To edit the error messages, you’ll need to go to your WordPress dashboard. Then, head to LoginPress > Customizer > Error Messages:
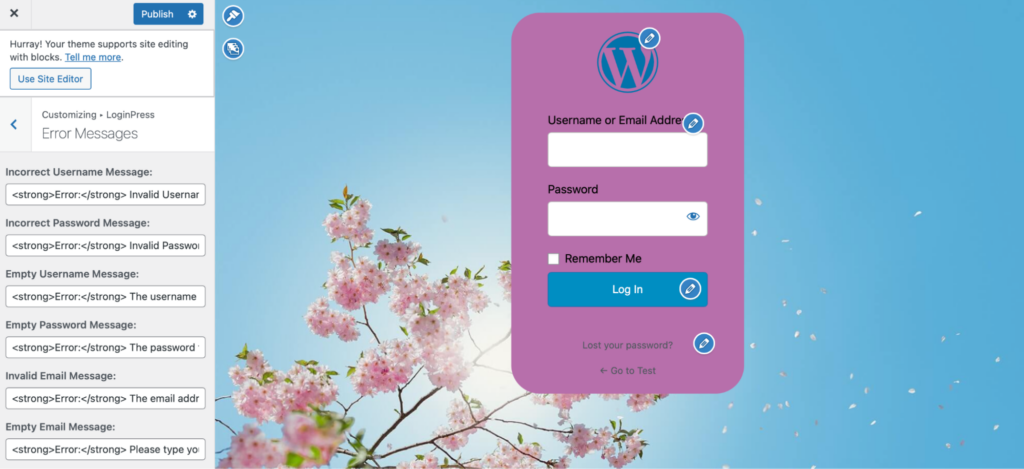
Here, you can make changes to the default WordPress error messages in the left-hand sidebar on your screen. Since these fields are compatible with HTML formatting, you can also add stylistic elements like bold or italics.
While these changes will certainly help you design a unique login page, you can do even more with LoginPress Pro. Customizations can be applied in seconds using pre-built templates. You can also provide social and auto logins to access your site easily.
Why You Should Secure Your WordPress Login Page
Due to WordPress’ popularity, and the fact that the general public is typically not aware of the common security issues, you have to take additional precautions and secure the WordPress login page and help your users keep their accounts secure as well.
Attackers are always on the lookout for websites with a weak security posture, and once they hack websites, they might inject your WordPress website with malware, plant spammy links in your footer, or steal your data. These threats are especially prominent if you’re currently running an old version of WordPress since many of these vulnerabilities are well known.
Furthermore, hackers don’t always need advanced skills to gain access to your website.They use a brute force attack. It is a way to find the right login information by trying it over and over again. Hackers will try a lot of different combinations of usernames and passwords until they find one that works.
A custom login page is safer than the default WordPress login page because some parts of the login page are easy to guess.
For example, most hackers will know that the default WordPress login URL ends with /wp-admin. Additionally, WordPress doesn’t limit login attempts, so hackers can keep trying to break in until they’re successful.
How to Secure Your WordPress Login Page
Now that you know why it’s important to secure your WordPress login page, let’s look at the best ways to do this!
Enforce Strong Passwords
Weak and repeated passwords make your website more susceptible to successful hack attacks. Using high-quality passwords is one of the best ways to strengthen WordPress security. That’s why it’s important to mix lowercase and uppercase letters, and include numbers and special symbols.
Additionally, shorter passwords can be easier to crack than longer ones. Of course, the number of characters isn’t the only determining factor in how quickly a password is guessed. However, prioritizing long passwords can further increase your site’s security.
One of the easiest ways to secure passwords is to have a firm WordPress password security policy.
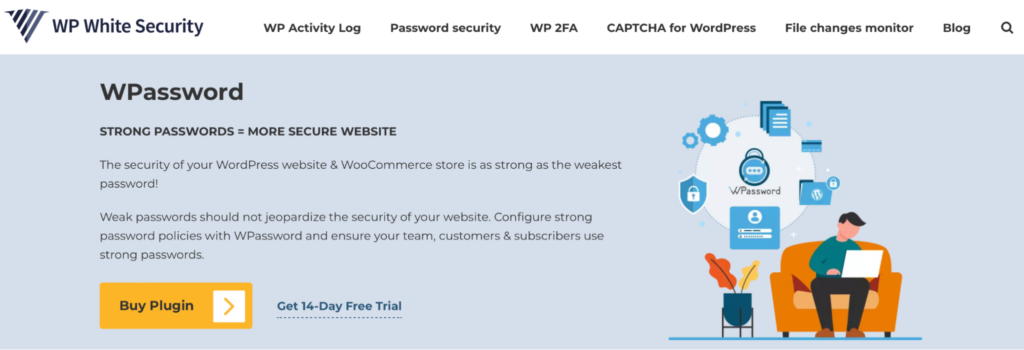
You can achieve a high level of password security with the WPassword plugin. This plugin supports custom WordPress login pages, so you can use it with your brand-new login page built with LoginPress. Meanwhile, WPassword can enforce strong passwords on all users with an account on your website.
Additionally, you can take advantage of tons of other security features. For instance, WPassword logs out inactive WordPress users, configures password policies for different WordPress user roles, and ensures that all credentials are regularly updated.
Limit Login Attempts
Another way to secure your WordPress login page is to limit login attempts. This configuration can protect your site against certain attacks that rely on numerous login attempts, such as brute force.
As we mentioned before, hackers will use multiple credential combinations to try and break into your site during a brute-force attack. Therefore, it’s worth using a login security plugin like WPassword to cap login attempts. Once installed, WPassword can also automatically block users with failed login attempts to secure your site against these attacks.
Implement Two-Factor Authentication
Two-factor authentication (2FA) requires users to generate two keys to access your website. While the first key is usually a password, the second key is produced in real-time.
For example, the second key can be sent to your email, phone, or app. This protects your site against brute force attacks since bots cannot generate the second key.
Again, you can find WordPress plugins to take care of this. WP 2FA is one of the most popular options:

It’s super simple to use, so even beginners can set it up and configure the settings to work exactly the way they want. WP 2FA supports multiple two-factor methods, including SMS, push notifications, and Whatsapp.
Once it’s installed, head to WP 2FA > 2FA Policies from your WordPress dashboard. Then, select your preferred verification method. You can also enable secondary two-factor methods and enforce authentication for some (or all) users.
Optional But Highly Recommended: Maintain an Activity Log
Keeping an activity log on WordPress can help you manage and organize users and activities on your website. This log ensures complete transparency because you’ll know every action taken on your site (and who’s completed it).
Fortunately, a handy tool like WP Activity Log can enable this functionality. Once the plugin is activated, you’ll be able to track all changes on your site:

For example, you can see when new user accounts are created, when login attempts fail, when sessions are terminated, and when changes are made to plugins or themes. This way, you can spot suspicious behavior before it becomes a significant issue.
Customize and Secure a WordPress Login Page
While the WordPress login page helps users access your WordPress dashboard, its basic design does little to impress your visitors. Plus, it’s seen all over the internet since many websites use the same CMS. Fortunately, you can customize and secure your login page to boost its UX and strengthen your login procedure.
To recap, here’s how to create a custom and secure WordPress login page:
- Rebrand the login screen with LoginPress.
- Edit the login form.
- Replace the error messages.
- Install the additional security plugins.
Do you have any questions about customizing and securing your WordPress login page? Let us know in the comments section below!
That’s all! You can also check out How to Add CAPTCHA to WordPress Login and Registration Form and 2 Easy Ways to Unblock Limit Login Attempts in WordPress.
Disclaimer: This post was published in collaboration with Robert Abela, the CEO of WP White Security.
