How to Add Custom Fields in WordPress User Registration Form
Are you looking for a way to add custom fields in WordPress user registration form?
The default registration form in WordPress is very simple and has basic fields. It’s better not to limit your site’s registration form to default WordPress fields.
You can easily add as many fields in the registration form as you want using codes or plugins. It helps you make your registration form look more professional.
In this article, we’ll explain how to add the custom field “Terms & Conditions” in the WordPress registration form with custom coding. So, make sure you read this article till the end.
Let’s get started!
Table of Contents
- Why Add Custom Fields to WordPress User Registration Form?
- Enable WordPress Registration Form
- Add Custom “Terms & Conditions” Field on the Registration Form
- 1. Code for Adding Terms & Conditions Field on the Registration Form
- 2. Code for Validating Terms & Conditions Field on the Registration Form
- 3. Code for Updating User Meta on the Registration Form
- Final Thoughts
- Frequently Asked Questions
Why Add Custom Fields in WordPress User Registration Form?
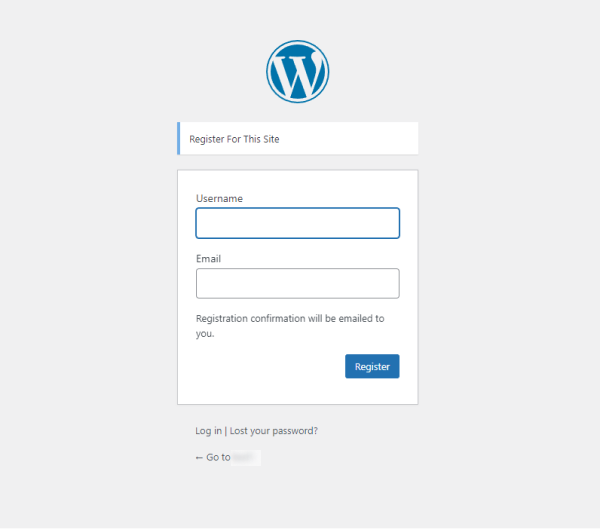
On enabling the User Registration Form in WordPress, you’ll find it doesn’t let you gather much information from users when they first register on your site. It has basic fields, including Username, Email, and Password.
This is what the default WordPress registration page looks like:
Hence, here are the benefits of adding custom fields to your site’s user registration form:
- Custom fields empower you to get extra information from your users, such as an address or phone number, or ask them to accept your Terms & Conditions, Privacy Policy, etc.
- You can add an image upload field that can be really helpful in increasing the credibility of your site.
- The custom fields make your site look more professional and interactive.
Enable WordPress Registration Form
By default, the user registration for WordPress is off. But it can be enabled.
Simply go to the left sidebar of the admin dashboard, navigate to Settings, and click General.

The General Settings screen will open up. Scroll down a bit, and check the Membership checkbox.

When you are done, scroll done and click on the Save Changes button to save the settings.
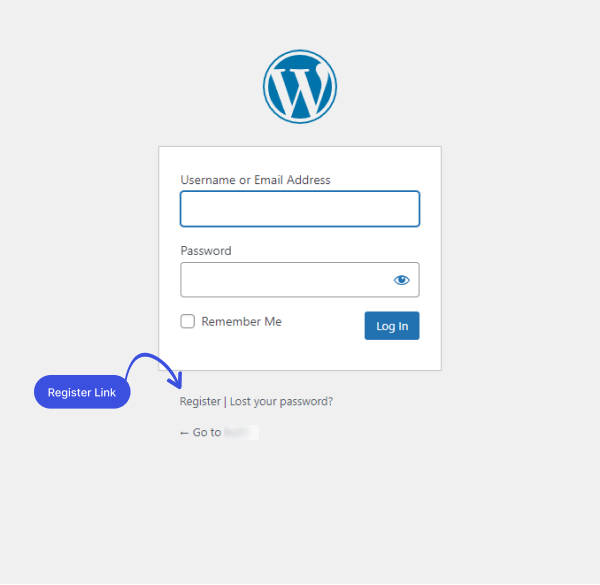
Now you can see the registration link on your login page:
Add Custom “Terms & Conditions” Field on the Registration Form
Here we will learn to add the custom “Terms & Conditions” checkbox to the user registration form in WordPress.
The Terms and Conditions field on the WordPress registration form will help you protect your business. It won’t let the users register to your site without acknowledging the rules they must abide by when they use your services.
Once it’s added, it will become mandatory for the user to accept your Terms & Conditions before completing the registration process.
Note: The WordPress Checkboxes or checkboxes at any website are legal, like clicking on a checkbox is urging a signature on a written contract.
The “Terms & Conditions” checkbox will be added using custom coding, so buckle up!
With that said, let’s get an insight into the best method to add a custom user registration field on WordPress now.
For this, go to the left sidebar of your admin dashboard, navigate to Appearance, and click Theme File Editor.
The Edit Theme screen will open up. Simply add the following codes in the child themes’ function.php file.
Let’s customize the registration form involving the following hooks:
1. Code for Adding Terms & Conditions Field on the Registration Form
Note: register_form Allow rendering of new HTML element.
Paste the following code in the child theme’s functions.php file to add the Terms & Conditions checkbox on the registration form.
Note: The following code will only add a Terms & Conditions checkbox on the registration form. In order to make it compulsory, you’ll need to paste the next code.
/**

 * The Terms & Conditions HTML markup to show on the registration form.

 */

add_action( 'register_form', 'loginpress_add_terms_condition_field' );

function loginpress_add_terms_condition_field() { ?>

<div id="lp_terms_conditions">

    <input type="checkbox" name="lp_terms_conditions" id="lp_terms_conditions" class="checkbox" />

    <label for="lp_terms_conditions"><?php _e( 'Terms & Conditions', 'loginpress' ) ?></label>

  </div>

  <?php

}
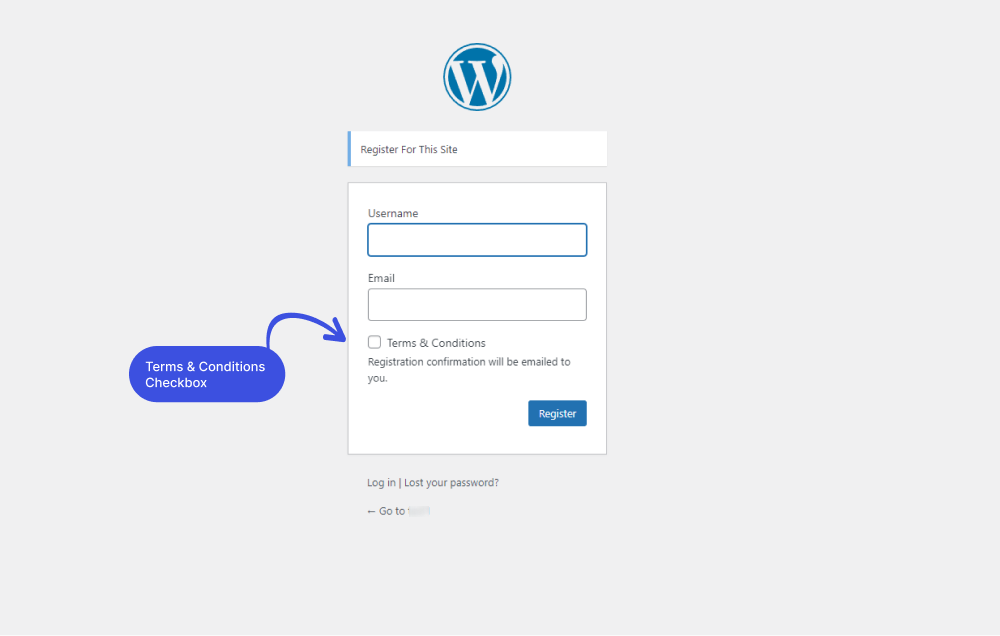
This is how the Terms & Conditions checkbox appears on the default WordPress user registration page:
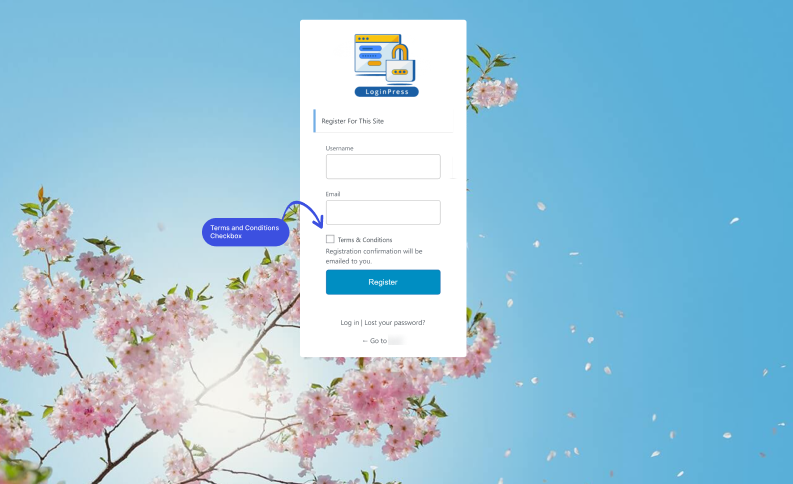
You can customize the WordPress user registration page with LoginPress, in terms of a professional and individualistic look. This is how the code will work, keeping LoginPress activated:
2. Code for Validating Terms & Conditions Field on the Registration Form
Note: registration_errors Perform validation on form registration fields.
You’ll need to add the following code snippet in the child theme’s functions.php file to make sure each user won’t get registered to your site before tick marking the Terms & Conditions checkbox.
add_filter( 'registration_errors', 'loginpresss_terms_condition_auth', 10, 3 );

/**

 * The register error when the terms and conditions checkbox is not toggled on.

 *

 * @param object $errors The error list of Register form.

 * @param string $sanitized_user_login The username.

 * @param string $user_email The user email

 * @return object $errors Customized error list.

 */

function loginpresss_terms_condition_auth( $errors, $sanitized_user_login, $user_email ) {

  if ( ! isset( $_POST['lp_terms_conditions'] ) ) :

    $errors->add( 'policy_error', "<strong>ERROR</strong>: Please accept the terms & conditions." );

    return $errors;

  endif;

  return $errors;

}
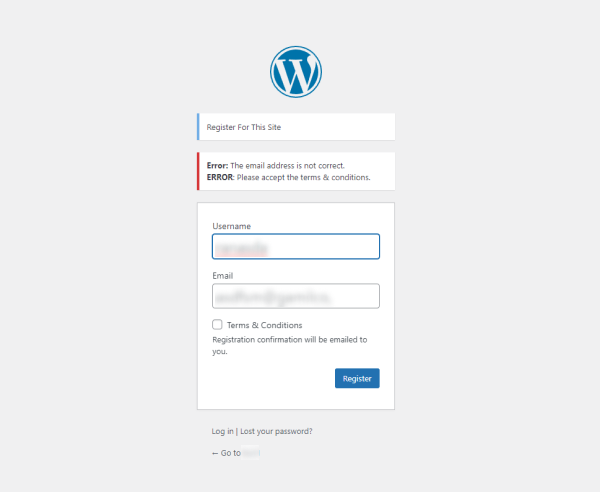
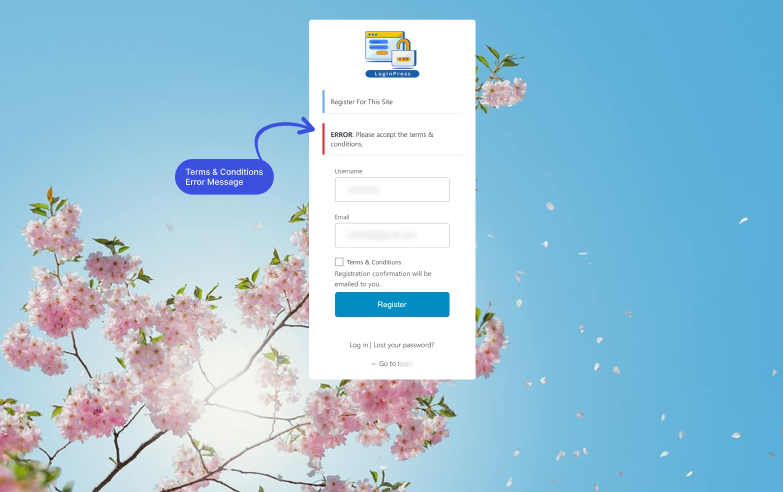
This is how the Terms & Conditions error message appears on the default WordPress user registration page:
With LoginPress:
3. Code for Updating User Meta on the Registration Form
Note: user_register Save custom form data.
You are almost done! Paste the following code in the child theme’s functions.php file to save custom form data.
/**

 * The save process for the checkbox on register.

 *

 * @param int $user_id The user ID when getting registered.

 * @return void

 */

function loginpress_terms_condition_save( $user_id ) {

  if ( isset( $_POST['lp_terms_conditions'] ) )

     update_user_meta( $user_id, 'lp_terms_conditions', $_POST['lp_terms_conditions'] );

}
Final Thoughts
We hope you understand how to add the custom field “Terms & Conditions” on the WordPress user registration form with custom coding. If you want to add a custom field to the Privacy Policy, you can check our detailed guide on the topic.
Let us know if you need custom codes for adding more custom fields on the registration form, i.e., Privacy Policy, Contact Number, etc. Our Support Team is ready to help you.
Thank you for reading this article. Don’t forget to share this article with others who might find this helpful too!
You may also want to check out How to Change Your WordPress Login Page URL (4 Easy Steps) and Benefits of Social Login for WordPress Site.
Frequently Asked Questions
How can I enable the registration form on WordPress?
To do this, go to the left sidebar of your WordPress admin dashboard, navigate to Settings, and click General Option. Once you scroll down, checkbox the Membership option and click Save Changes. That’s it!
How do I display custom fields in WordPress?
You can easily display custom fields in WordPress in two ways. You can install the custom field plugin, i.e., the Advanced Custom Fields plugin, or manually edit your child theme’s functions.php file.
What is a custom field in WordPress registration form?
The default registration form in WordPress is very simple and has basic fields, i.e., username, email address, and Password. You can easily and quickly add custom fields to add extra fields other than WordPress’s default fields, i.e., the Privacy Policy checkbox.


