How To Set Up WordPress Push Notifications (2025)
Are you looking for a way to add WordPress push notifications to your site? If the answer is yes, you’re on the right page.
It is important to keep your audience engaged and informed about what is happening on your site. Web push notifications are one of the best ways to achieve this goal. They let you send messages to reach your users with updates, offers, and important information, even when they are not browsing your WordPress site.
In this article, we’ll explain how to easily add WordPress push notifications to your WordPress site.
WordPress Push Notifications (TOC):
What Are WordPress Push Notifications?
Push notifications are messages a site sends to a user’s device. They typically contain text and rich media, such as images. The primary purpose of these notifications is to make users take some actions, i.e., making a purchase.
These notifications allow the web to engage users by delivering timely information directly to their device’s home screen.
Common Uses of Web Push Notifications:
- News Updates: You can deliver breaking news or important updates in real-time.
- Reminders: These notifications enable you to send reminders for events, tasks, or appointments.
- Promotions: These notifications allow you to promote your products via sales, special offers, or discounts.
- Messages: You can easily alert users to new messages or social media interactions.
- Activity Tracking: With these notifications, you can notify users about their activity, i.e., steps taken or exercises completed.
Why Add Web Push Notifications to Your WordPress Site?
Web push notifications are one of the most powerful marketing tools. They are the best way to call back visitors to your site. As a result, you can see an increase in your site’s traffic.
No doubt, a web push notifications plugin will be an excellent investment for a WordPress site.
Here is why you should consider adding web push notifications to your WordPress site:
- Real-time Communication: They provide real-time updates and information.
- User Engagement: Designed to keep users engaged with the app by providing relevant and timely content.
- Increased Visibility: Web push notifications are sent directly to the user’s desktop or mobile screens. They can read it on their own, improving your site’s visibility.
- User Control: Users can customize the types and appearance of push notifications, ensuring they receive only the most relevant updates.
- Higher Click-through Rate: Web push notifications are better than email marketing as they have a 12% click-through rate (CTR) on average, resulting in improved conversions.
How to Set Up WordPress Push Notifications for Your Site
There are multiple WordPress push notification plugins available for free in the WordPress plugins repository, including:
We’ll show you how to add push notifications to your site with the OneSignal—Web Push Notifications plugin.
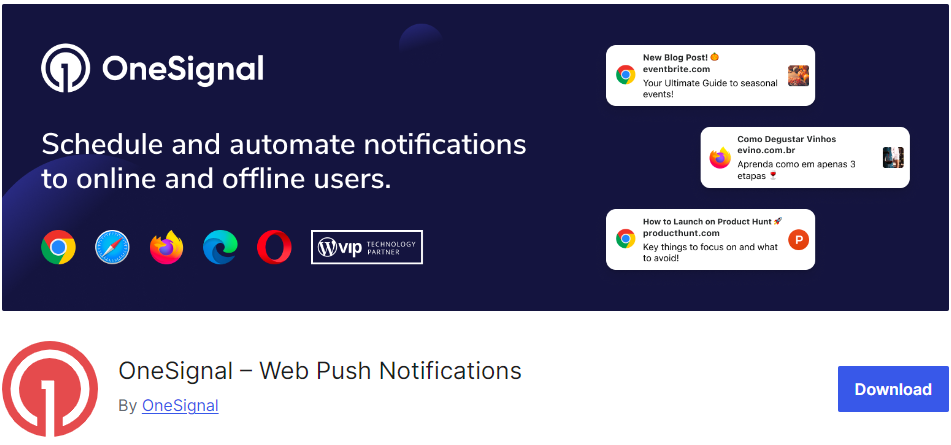
Step 1. Install and Activate OneSignal
First of all, you’re required to install and activate the plugin on your WordPress site.
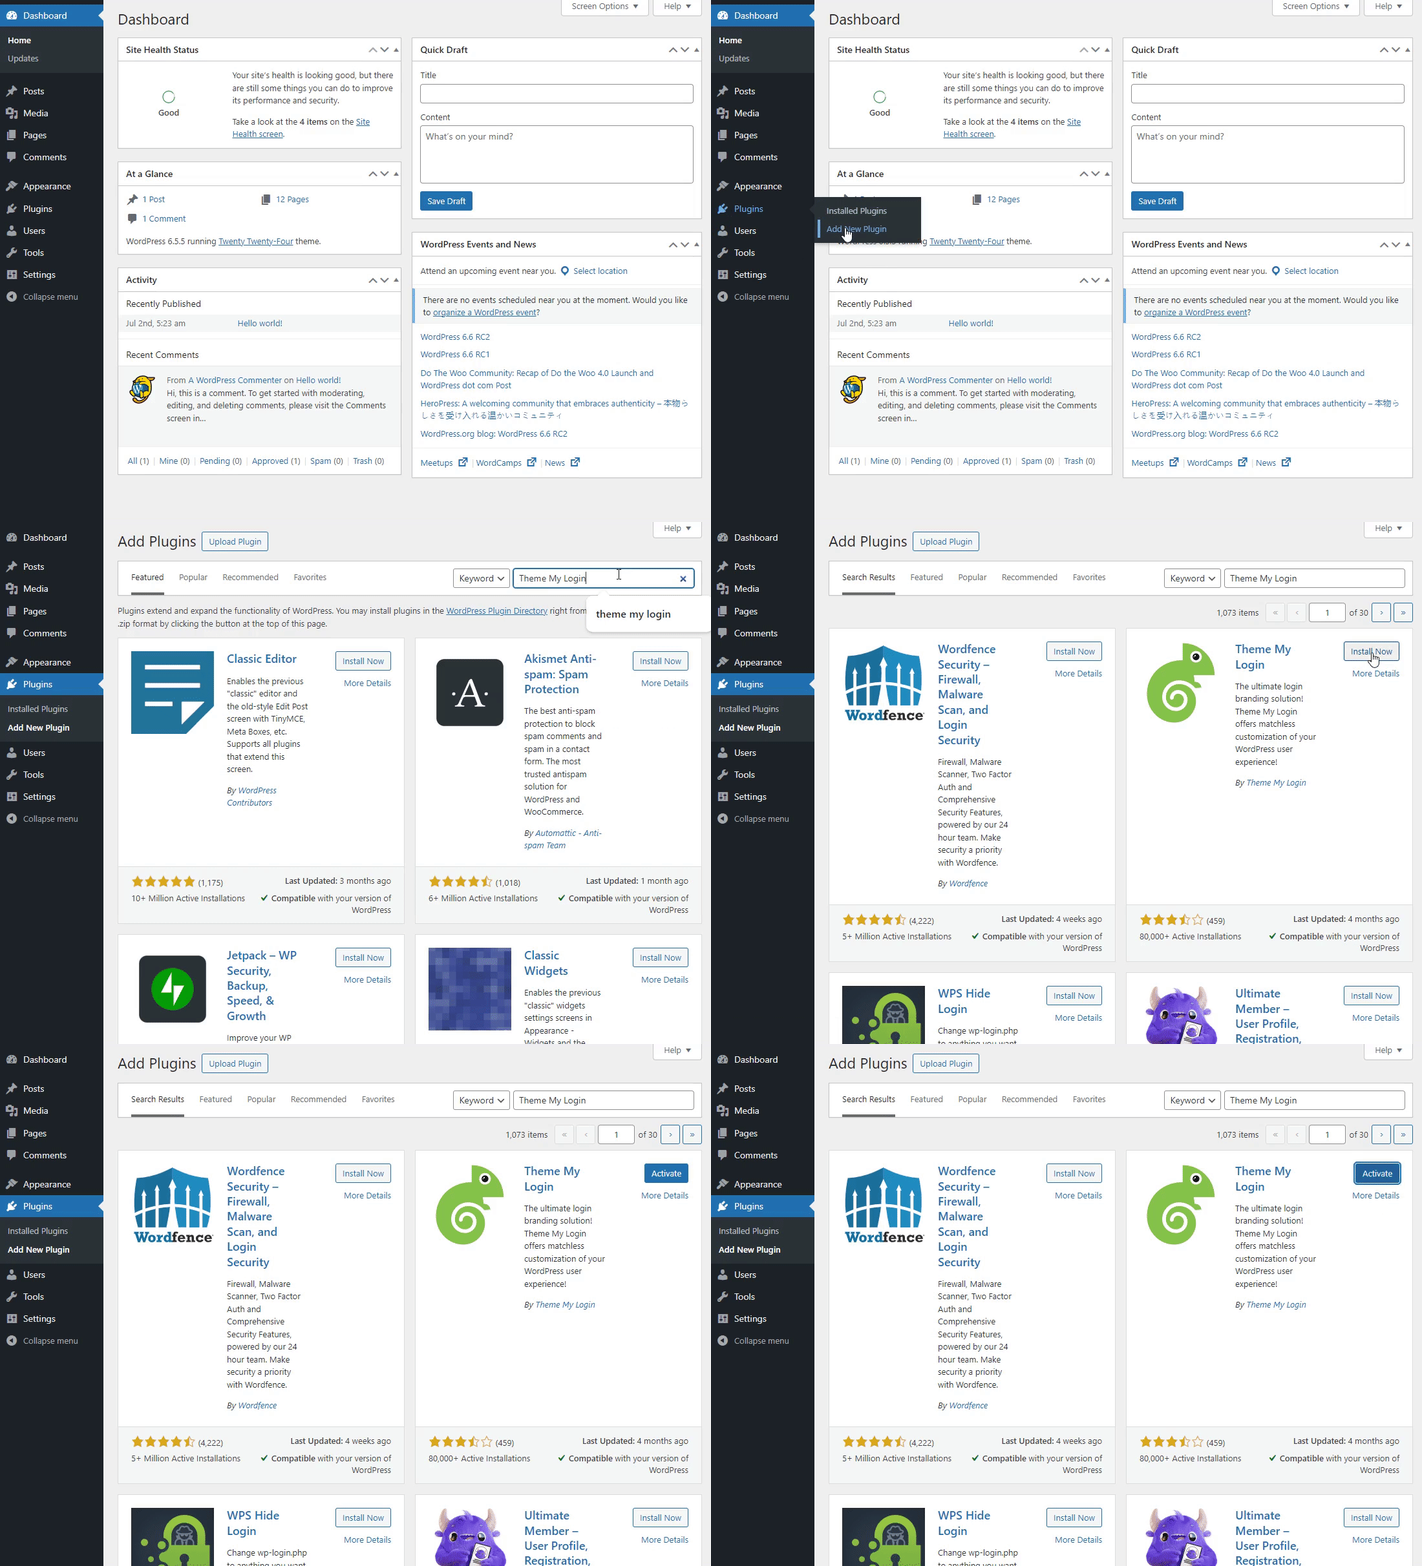
To do this, go to the left sidebar of the WordPress admin dashboard, navigate to Plugins, and click the Add New option.
On the next screen, search for the OneSignal plugin in the search field, find the plugin in the search result, click the Install Now button, and then the Activate button.
See the GIF below:
Step 2. Create a OneSignal Account
Next, go to the official OneSignal site to create an account.
It’s time to create a Web Push app in OneSignal.
Set your email address and password. When done, click the Create Account button.

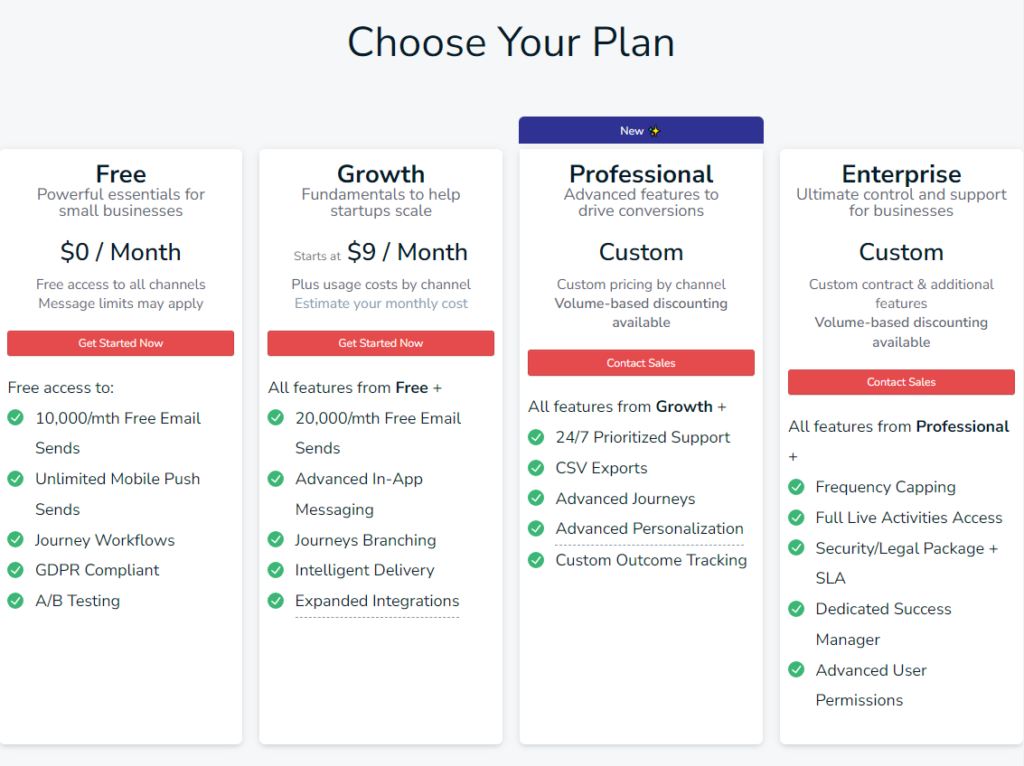
Get started with the Free plan.
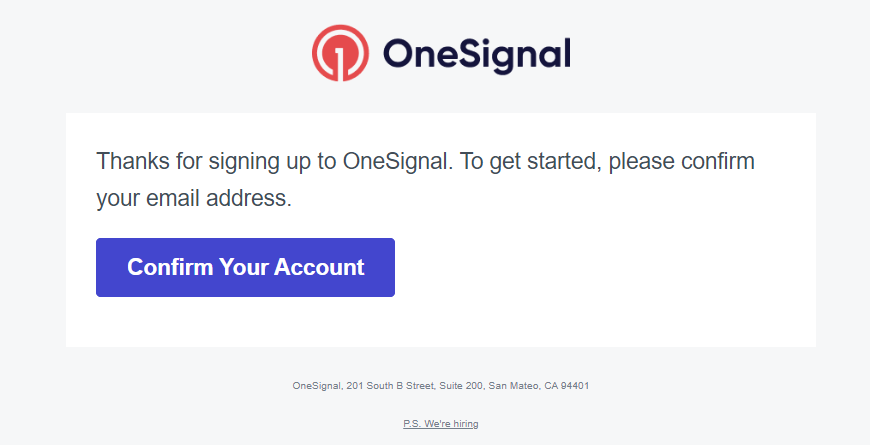
Next, confirm your account.
Step 3. Create New App/ Website
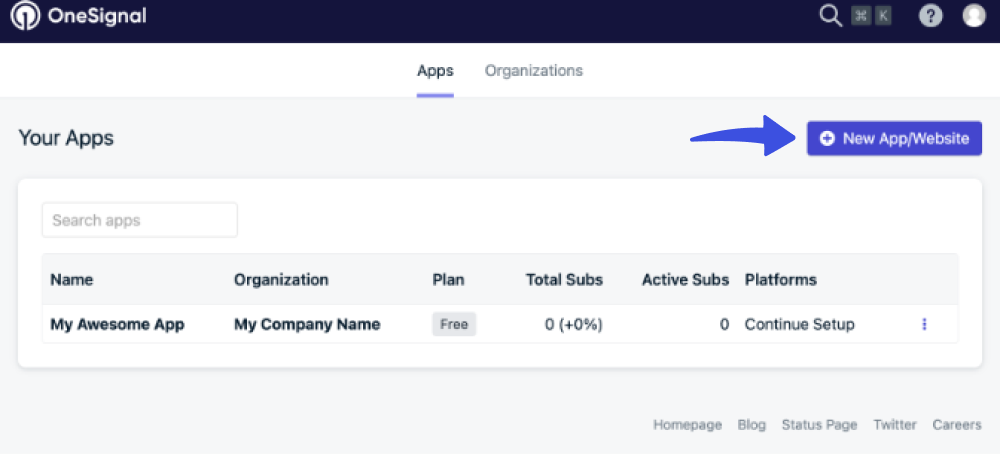
On the next screen, click the New App/Website button.
Now, fill in the information, including:
- First Name
- Last Name
- Your Role
- Purpose for Using OneSignal
- Preferred Channel

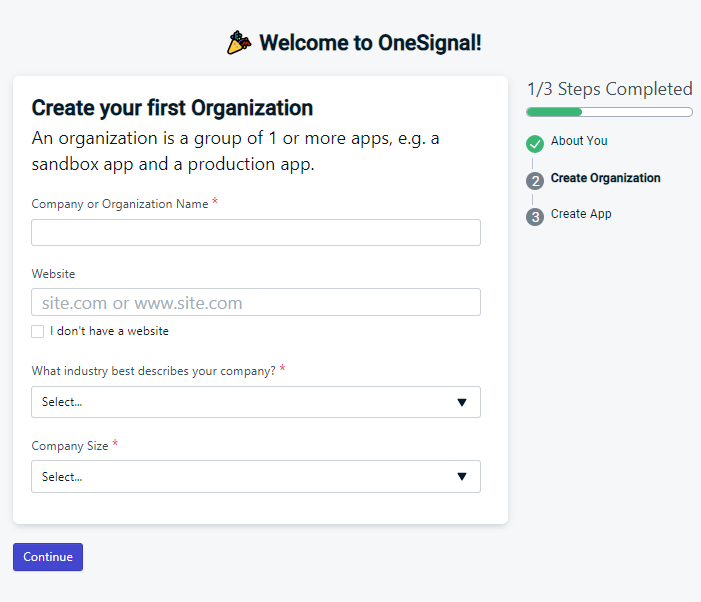
On the next screen, create your first organization.
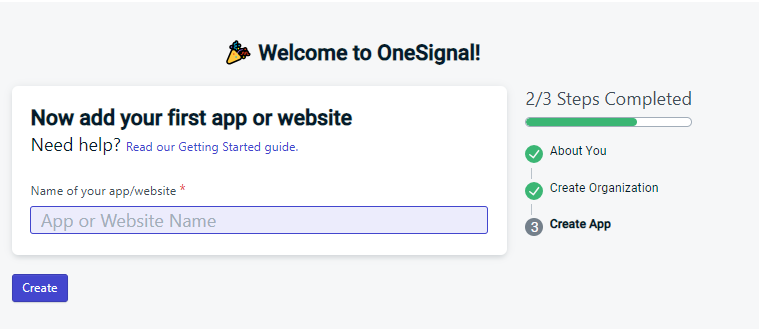
After this, you’ll need to provide your App or Website name.
Step 4. Web Push Notification Configuration
Now, you’ll find yourself on the OneSignal dashboard screen.
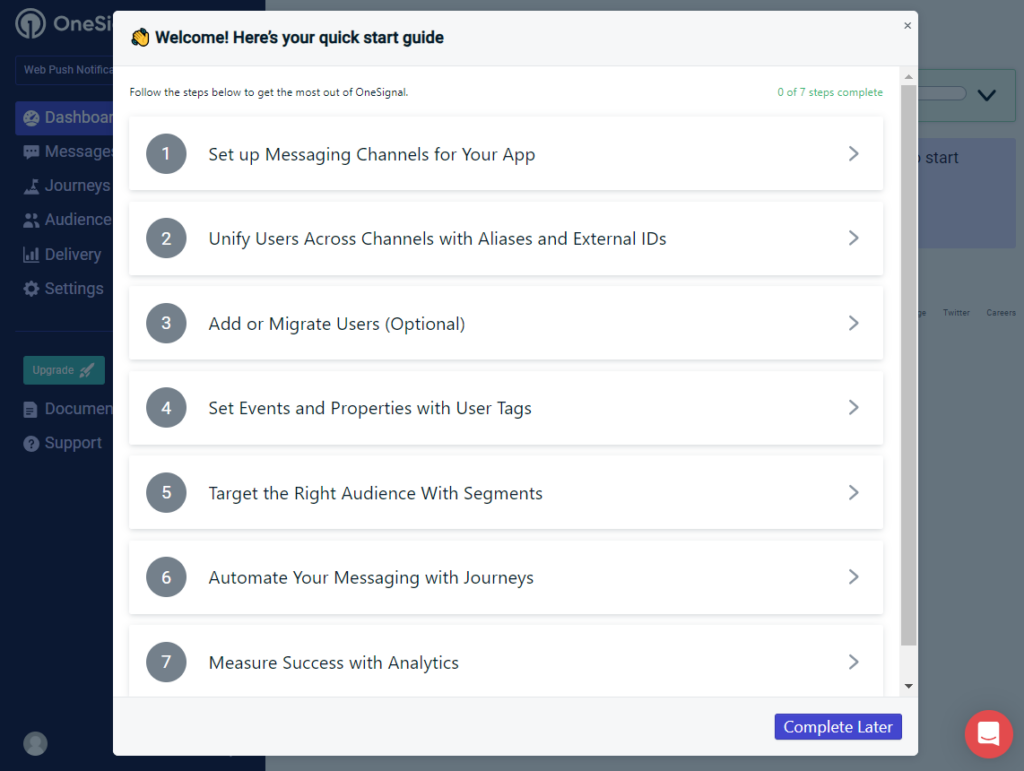
Next, you can see multiple Messaging channels for your app, including:
- Push Notifications
- In-App Messages
- SMS
Simply select the one channel for your app, i.e., Push Notifications.
On the next screen, select Web as your first channel.
Now, choose integrations, such as a WordPress Plugin or Website Builder. Then, select your site builder. Here, we will choose WordPress as an example.
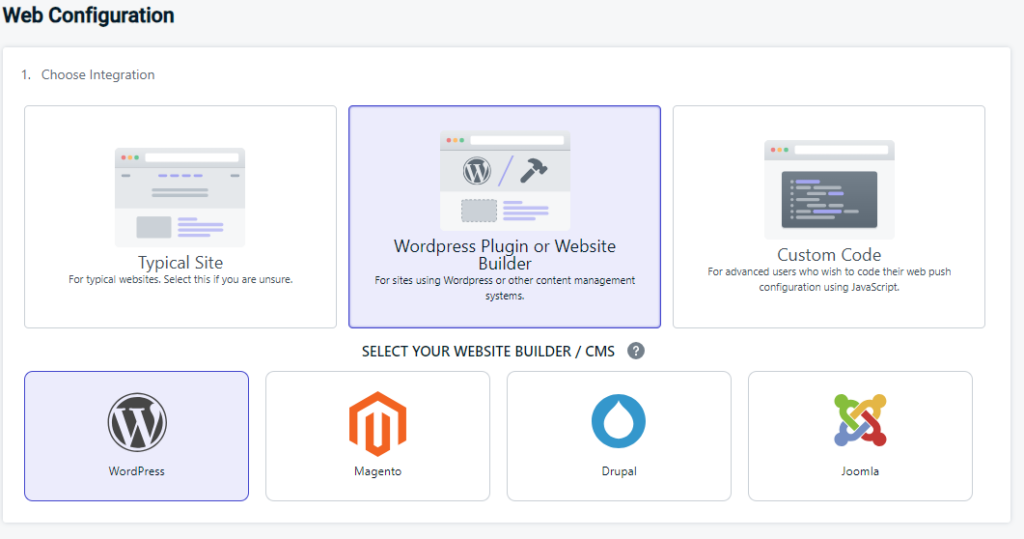
Next, you’ll be asked to set up your WordPress site. For this purpose, you’re required to add:
- Site Name
- Site URL
- Default Icon URL
When done, click the Save button.
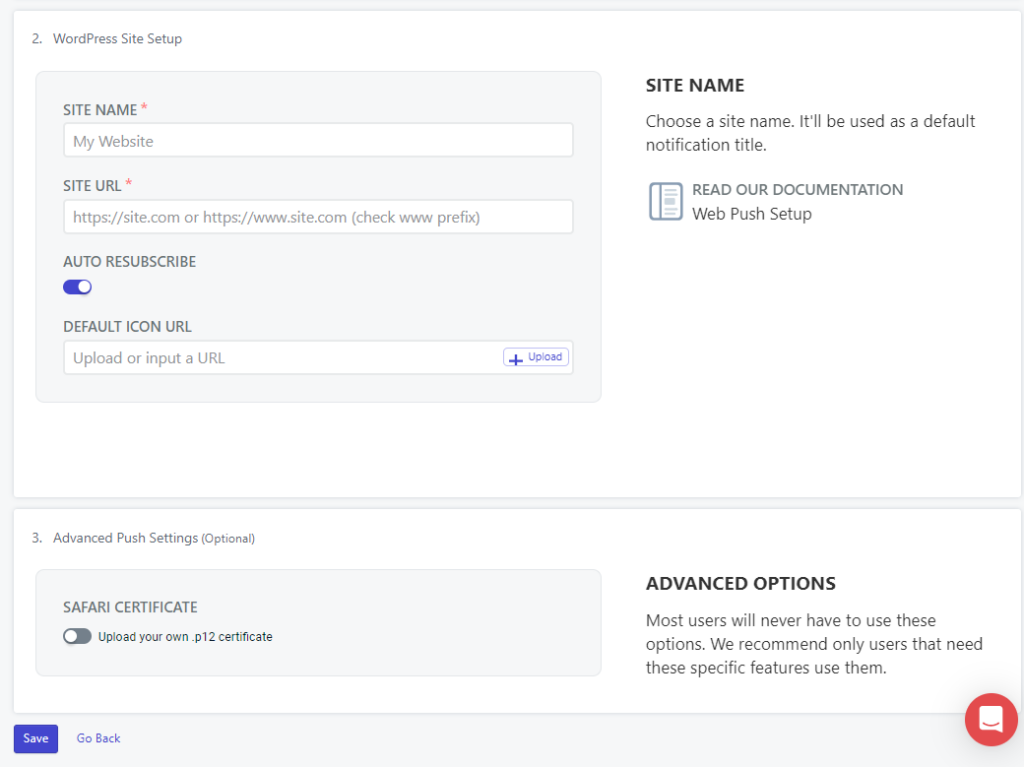
Step 5. Configure OneSignal
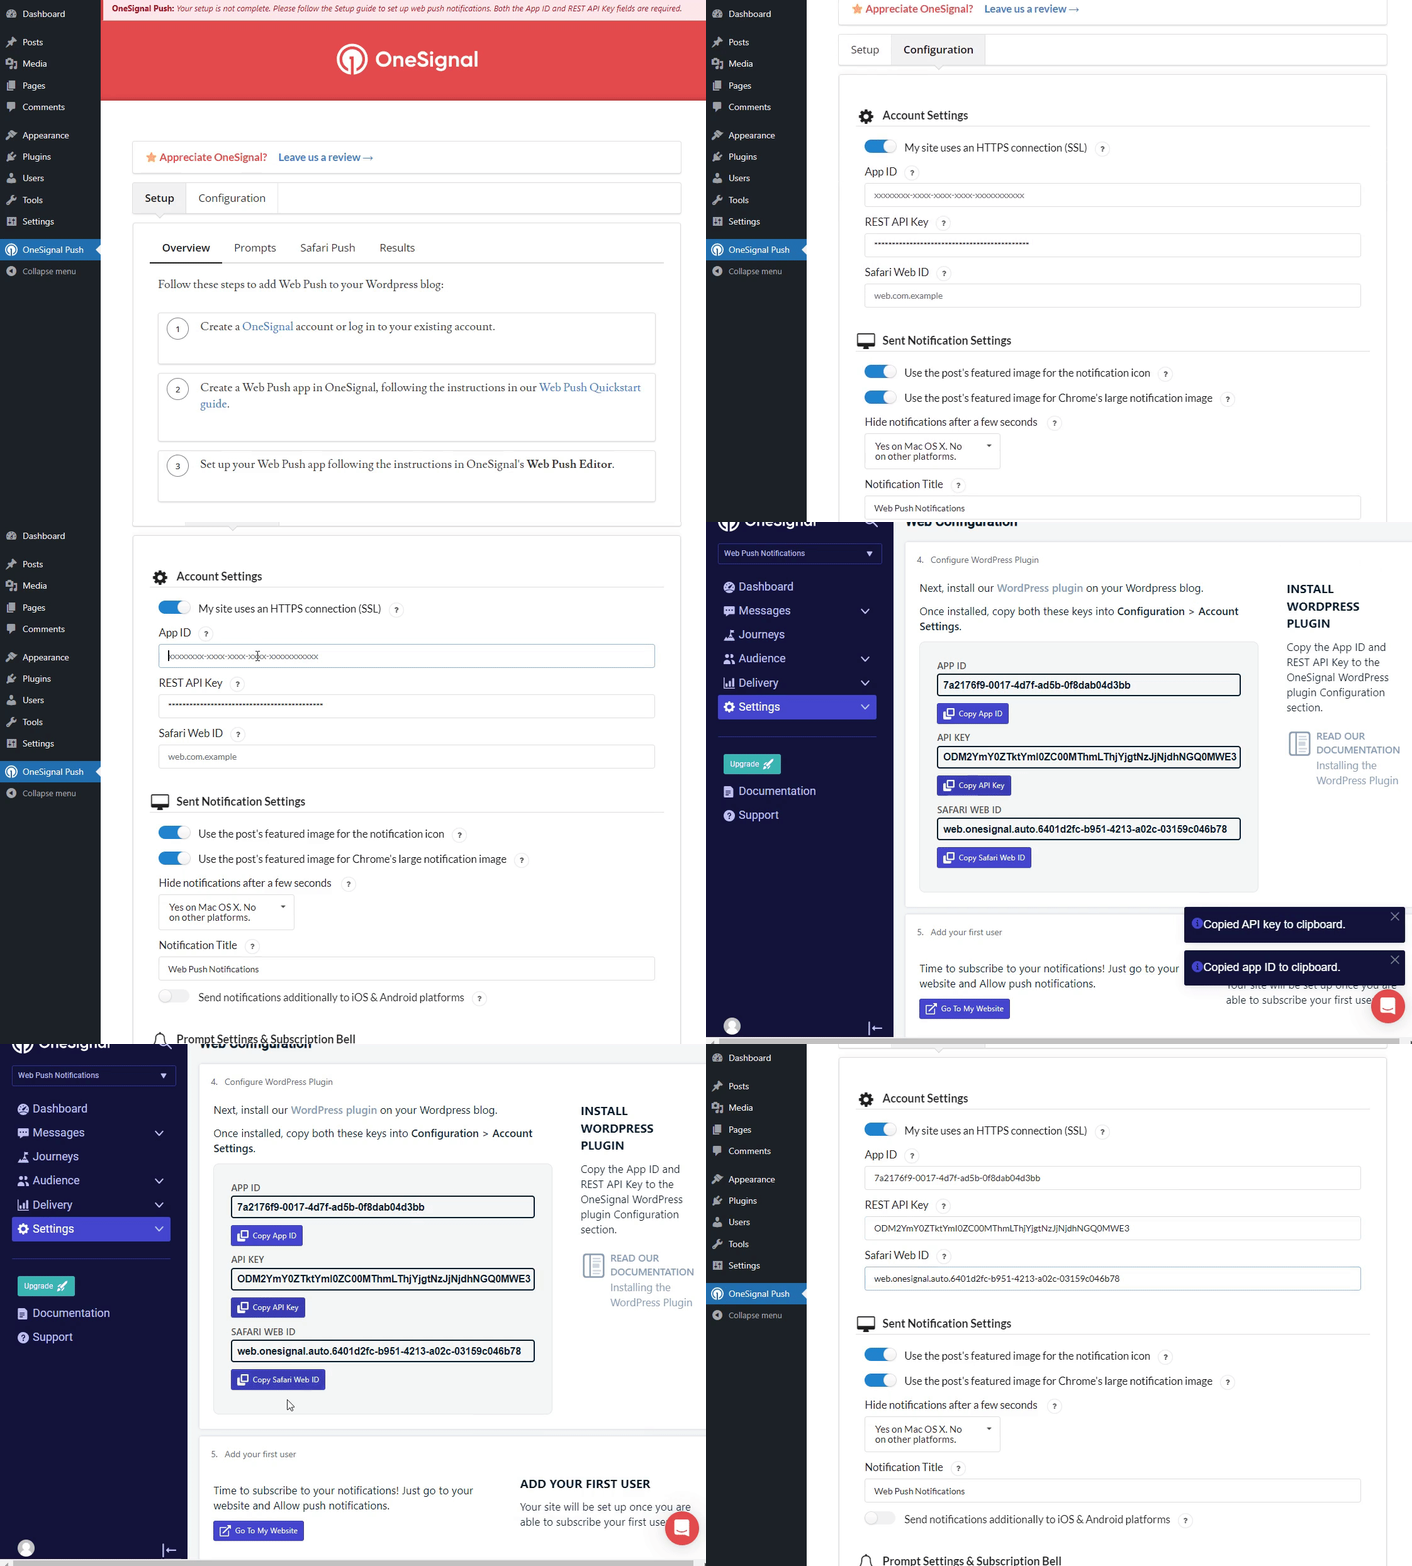
When you’re done with selecting the channel for your app, you’ll find yourself on the Web Configuration screen, where you’ll find keys, including:
- App ID
- Rest API Key
- Safari Web ID
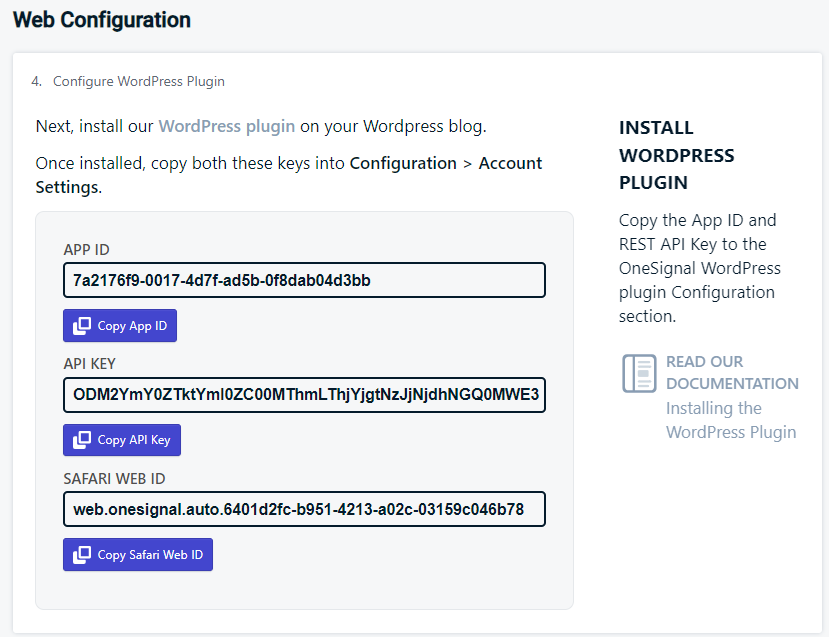
You’ll need these keys to integrate the OneSignal plugin with the OneSignal dashboard.
Go back to WordPress, select OneSignal Push from the left sidebar menu, and click the Configuration tab.
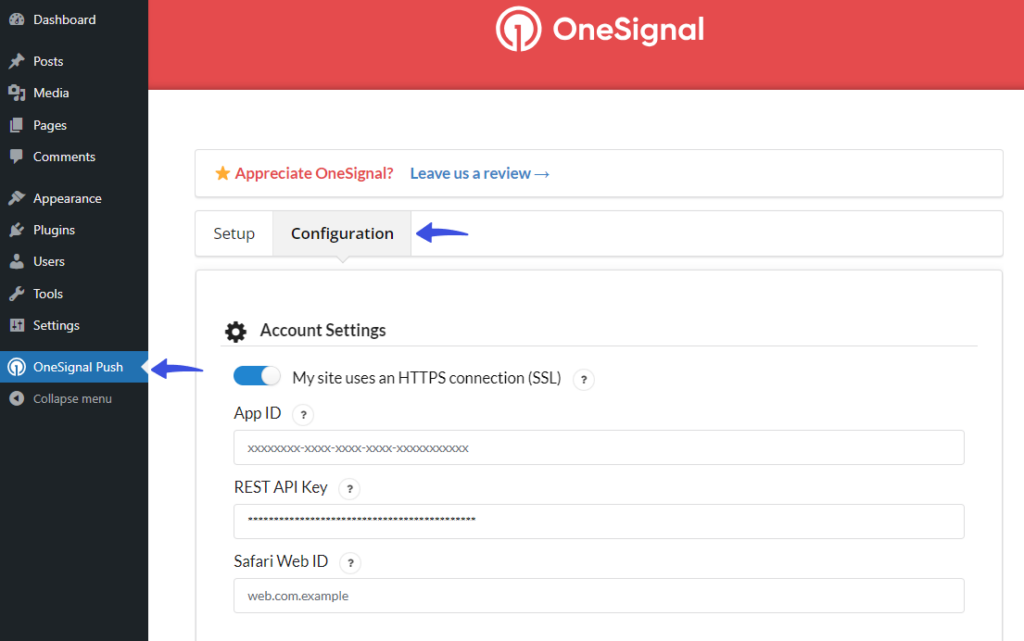
Now, go to the OneSignal dashboard, copy the App ID, Rest API Key, and Safari Web ID, and paste them into the OneSignal Configuration tab.
See the GIF below:
Step 6. Schedule & Send Push Notifications
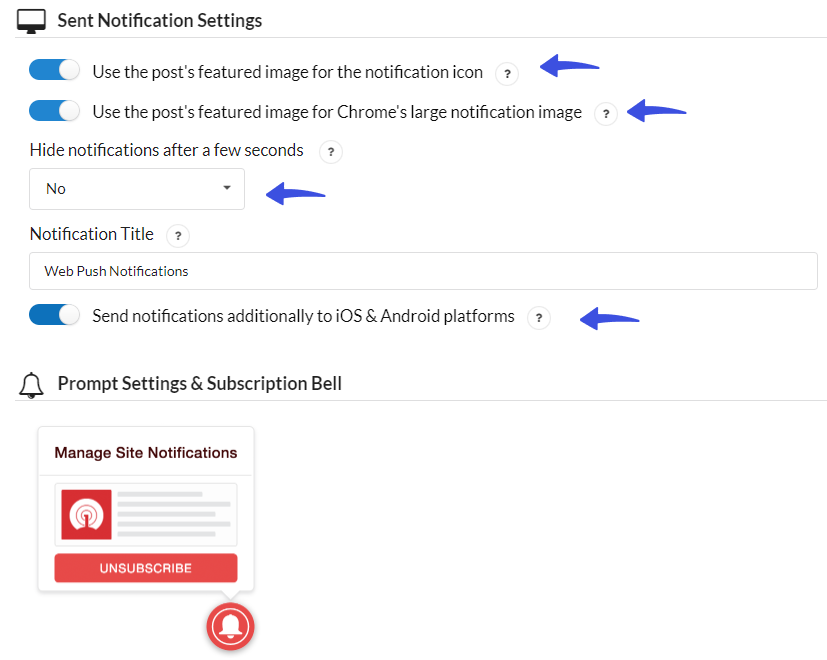
Now scroll down a bit on the same screen and set the following information:
- Enable the use of the post’s featured image for the notification icon.
- Enable the use of the post’s featured image for Chrome’s large notification image.
- Select No for the Hide notifications after a few seconds option.
- Enable the Send notifications additionally to iOS & Android platforms option.
Next, scroll down further and enable the following options:
- Automatically prompt new site visitors with OneSignal Slide Prompt before Native Browser Prompt (recommended)
- Enable the Subscription Bell
- Show the OneSignal logo on the Subscription Bell dialog
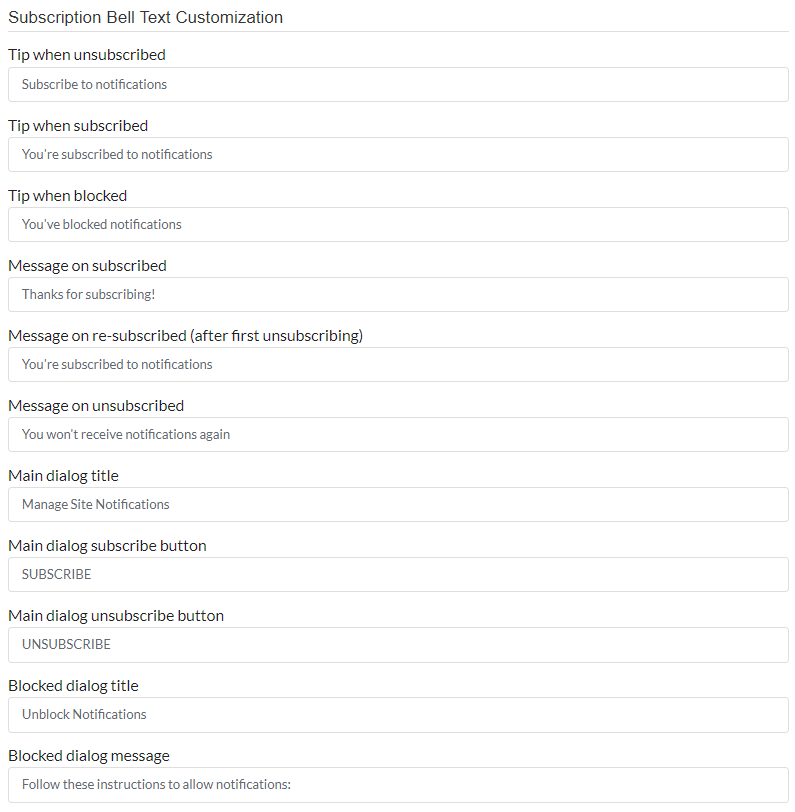
- Customize the Subscription Bell text
- Customize the Subscription Bell offset position
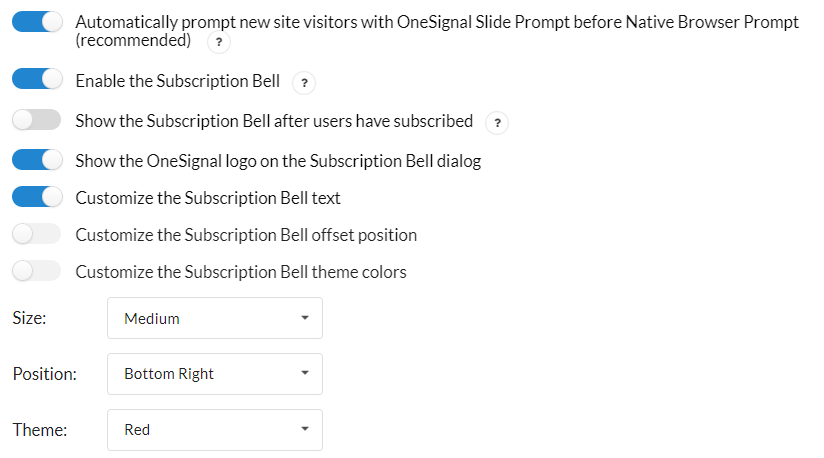
You can also customize the subscription bell text.
See the image below:
Scroll down a bit, from here, you can enable:
- Welcome notifications for new users
- Automatic push notifications for a new post
- UTM tracking
- Display status messages
When you’ve selected all the options for your web notifications, click the Save button below.

All set! Now, you’ve enabled web push notifications for your site.
Bonus: Customize the Default WordPress Login Page
Now that you’ve added push notifications for WordPress, why not customize the default WordPress login page with LoginPress.
This is the best WordPress login page customizer plugin. It makes it easy to customize each element on the default WordPress login page without the need to code.

Customize Your WordPress Login Page
Wait, there’s a lot more packed with LoginPress Pro, including:
Upgrade to LoginPress Pro and strengthen the default WordPress login security.
3 Best WordPress Push Notification Plugins
1. OneSignal
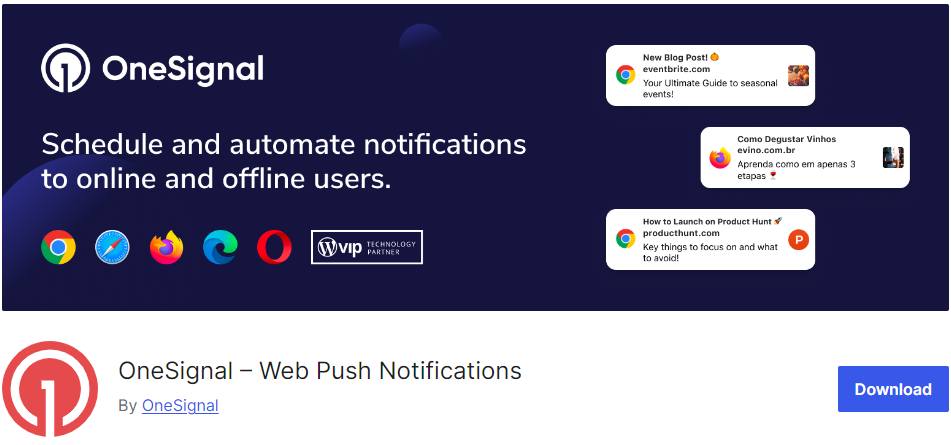
OneSignal is the best WordPress push notification plugin, with over 100,000 active installations.
The plugin lets you send messages from a WordPress site to subscribers’ devices, such as desktop or mobile, in real-time. You can inform them about new content, updates, or other important information.
2. PushEngage
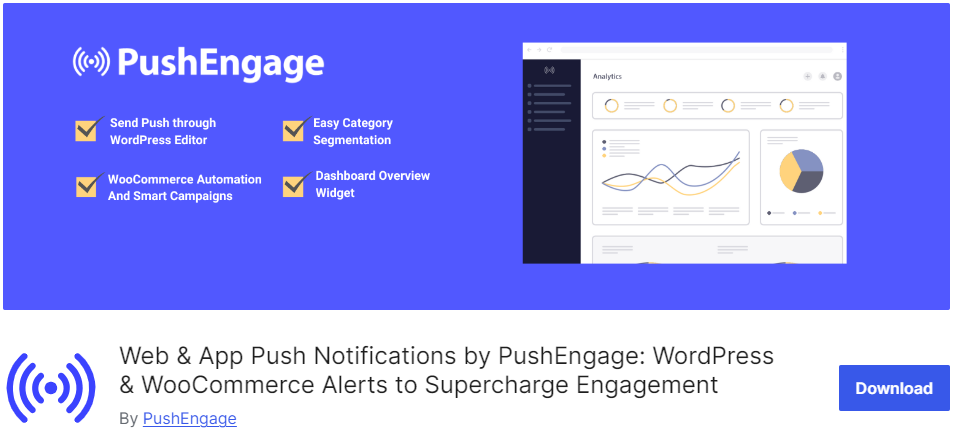
PushEngage is a useful WordPress notification plugin that aims to boost your marketing strategies and increase web push notification subscribers.
With this plugin, you can send browser and web app push notifications, such as:
- Chrome push notifications
- Mobile push notifications
- Opera push notifications
- Firefox push notifications
The plugin offers a built-in campaign editor that lets you create highly targeted and personalized push messages.
3. Webpushr
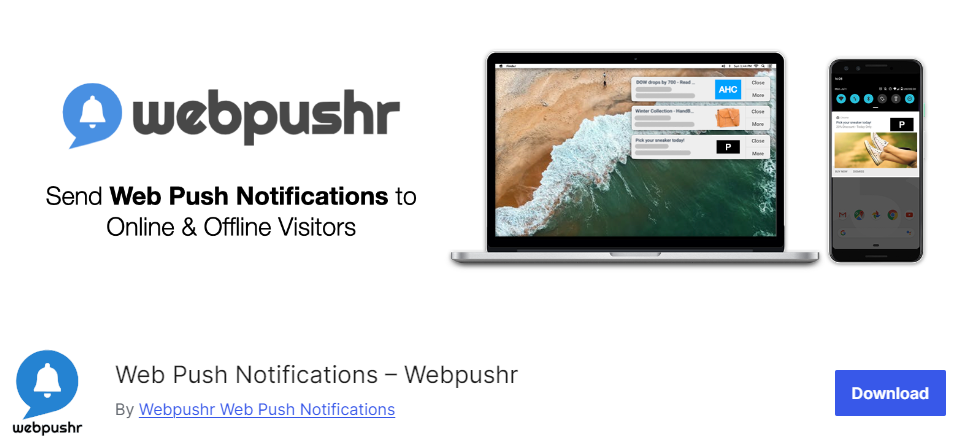
Webpushr is another good option for sending push notifications to your site visitors across all popular browsers, i.e., Google Chrome.
The plugin delivers smooth notifications to your site visitors even when not actively browsing your site. It ensures they get all important updates.
Webpushr is designed to support WooCommerce sites fully. It provides a reliable platform for sending Web Push notification-based alerts for your new products, sales promotions, price drops, and more.
WordPress Push Notifications FAQ
How to enable push notifications on my WordPress site?
You can easily enable push notifications on a WordPress site. All you need to do is to use a WordPress Web Push Notification plugin such as OneSignal.
Are push notifications free to use on WordPress?
Yes, multiple push notification plugins are accessible in the WordPress plugins repository. They offer basic push notification features. However, for advanced features, you’re required to get a paid plugin.
How do users subscribe to push notifications on my WordPress site?
Users subscribe to push notifications on a site simply by clicking the subscription button on your site. This button is usually generated by the push notification plugin you are using.
How do I track the performance of my push notifications?
Many push notification plugins provide analytics and reporting features. They offer complete control over tracking the performance of your notifications. It will help you improve site metrics, like delivery, open, and click-through rates, putting you in the driver’s seat. You can also add an analytics plugin, such as Analytify for more detailed tracking of custom events you set up related to web push notifications.
Can I send push notifications for specific events on my WordPress site?
You can configure push notifications triggered by specific events, such as new posts, comments, product updates, etc.
Final Thoughts
Adding web push notifications to your WordPress site is the best way to engage with your audience.
This article outlines simple steps. Follow them to easily set up push notifications for your WordPress site, which will notify users of new blog posts, special promotions, important updates, etc.
That’s all for this article!
You may also like to read our other valuable how-to guides, including:
- How to Add WordPress Internal Links (2024)
- How to Customize Reset Password Email WordPress
- How to Install WordPress on Localhost (Beginners Tutorial)
- How to Fix Custom Fields Not Showing in WordPress (2024)
- How to Boost Login UX with Custom Login User Interface Design
- How to Find the WordPress Login URL (Easy Guide)
- How to Easily Change the Login Logo in WordPress


Can you please post how to install heypusher push notifications on wordpress? They offer free 50k subscribers others offer very limited to 10k or less 🙁
Thank you Jitesh for your request. We have added the topic to our content schedule and will cover it soon.
Best,
Saud