How to Create a WordPress Custom Menu (5 Easy Methods)
Are you seeking user-friendly methods to personalize the WordPress custom menu on your site?
With WordPress custom menus, you can personalize your navigation by placing important pages, posts, categories, or custom links exactly where they make the most sense.
In this complete guide, you’ll learn what custom WordPress menu is and how to create a WordPress custom menu. You will also learn how to customize them according to your site’s goals and user needs.
WordPress Custom Menu (TOC):
What is a WordPress Custom Menu?
A WordPress custom menu is a set of links that you create and arrange to control your site’s navigation.
You can create a custom WordPress menu via the WordPress dashboard and arrange it in different locations on your site. This WordPress custom menu can be added to the header, footer, or sidebar.
Why Create a Custom Menu in WordPress?
A custom WordPress menu has more importance than just navigational convenience. A WordPress custom menu enhances the user experience and the site’s performance.
Here’s why you may need the options to create a WordPress custom menu:
- Better Site Navigation: Helps users quickly find what they need.
- Improved SEO: Internal linking through menus helps search engines crawl your site.
- Brand Control: Makes use of custom names and hierarchies to align with your brand tone.
- Highlight Key Pages: Directs users to important content, such as sales pages, lead pages, or login areas.
- Flexible Design: Add dropdowns, custom links, categories, or even login/logout buttons.
How to Create a Custom Menu in WordPress (5 Methods)
There are several ways to create a WordPress custom menu depending on your theme and preferences. Now we will explain to you the best methods to create a WordPress menu step by step.
1. WordPress’s Built‑In Menu Editor (Classic)
This is the most common method, which works with nearly all themes:
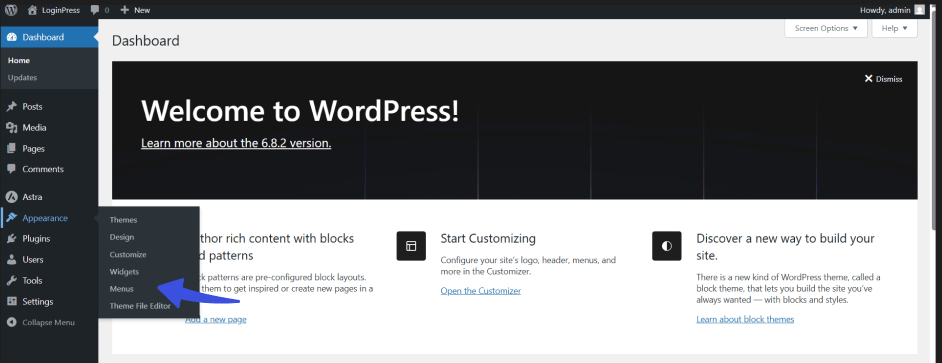
Step 1: Navigate to Menus in WordPress Dashboard
- Navigate to Appearance >> Menus in your WordPress admin dashboard.
Step 2: Create a New Menu
Once you have reached the Menus page, click Create a New Menu to add a new menu to your site.


Step 3: Choose the Menu items
You can choose to add pages, posts or any custom links to your menu.
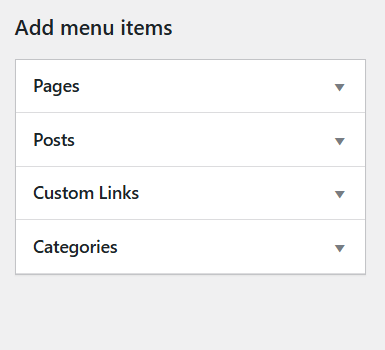
Step 4: Add the Menu items
Click on Add to Menu button to apply your menu items to the menu you have created.

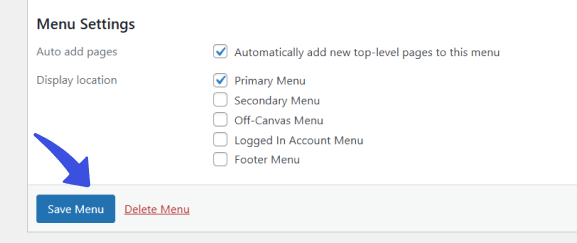
Step 5: Click Save Menu
Make sure to click on Save Menu to ensure the changes are implemented.
2. Full Site Editor (FSE) in Block Themes
Full Site Editor (FSE) in block themes is used to manage navigation menus. Unlike classic themes that rely on the Menus screen, block themes make use of a more visual and flexible approach. We are going to help you understand how it works for both block and classic themes.
If your active theme supports Full Site Editing:
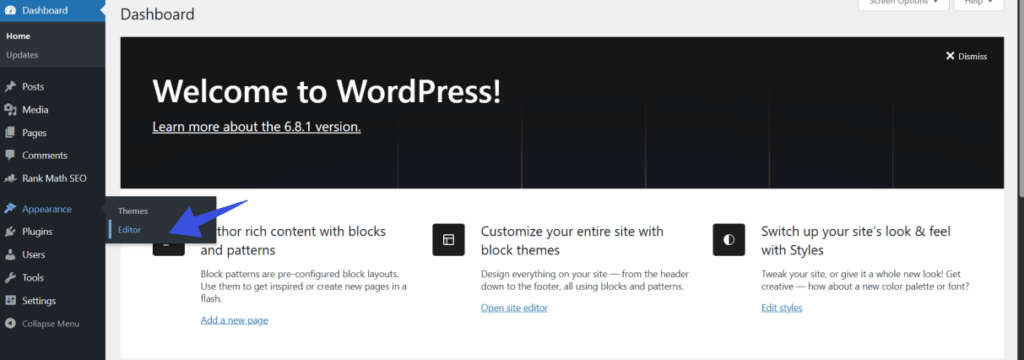
Step 1: Go to Appearance >> Editor
Go to Appearance and click on Editor option.
Step 2: Open any Template part
Open the Template option and click on the part you want to edit.
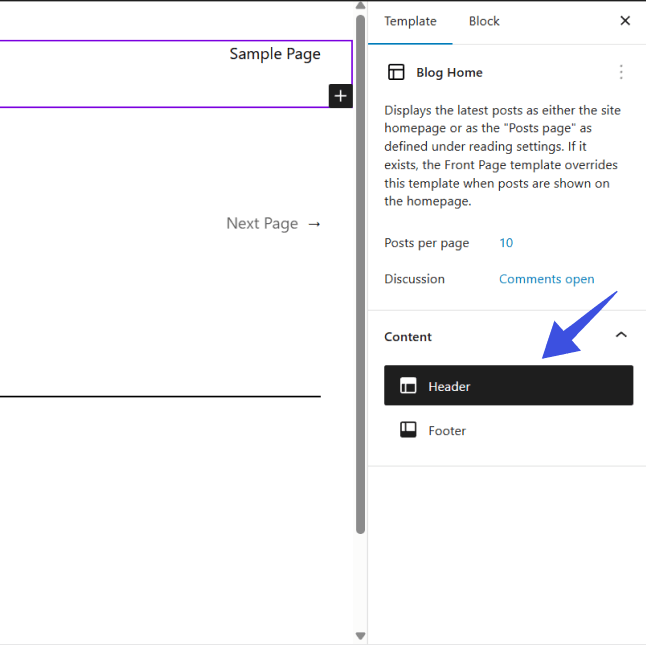
Step 4: Save changes to apply site-wide.
Make sure to save changes once you are done to apply them to your site.
This method is perfect for modern block-based themes.
3. Creating Login/Logout Menus with LoginPress
If your site allows user registrations or features a membership system, then adding login/logout links to your menu is essential.
With the best login customization WordPress plugin, LoginPress, you can:
Step 1: Install and Activate LoginPress
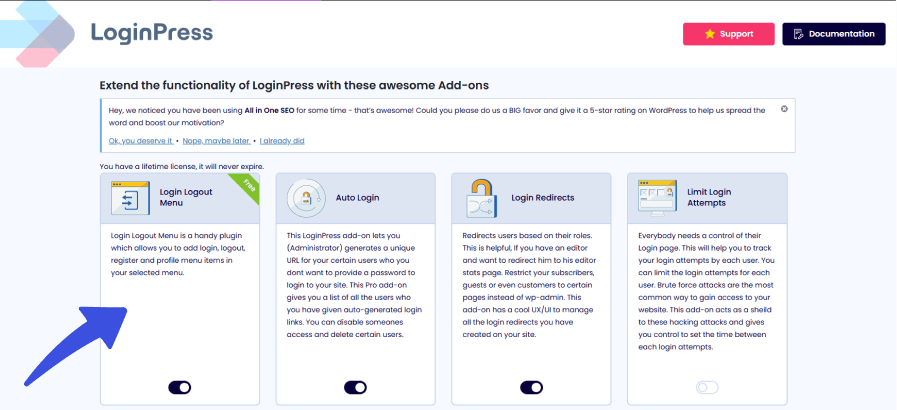
After activating your LoginPress plugin, also activate the Login/Logout Menu add-on.

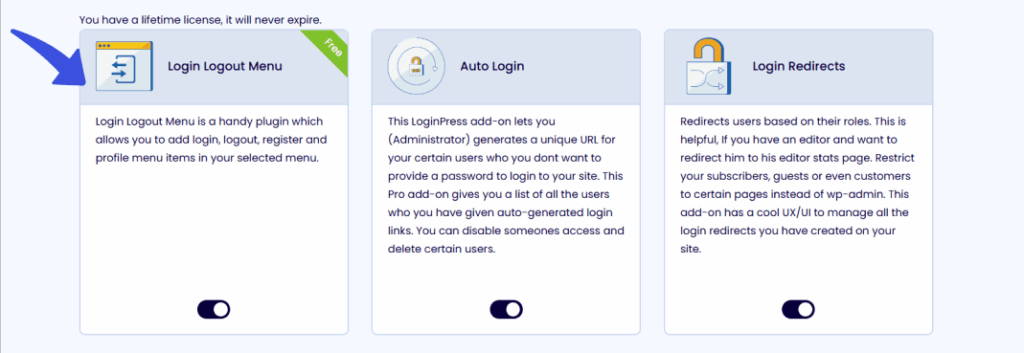
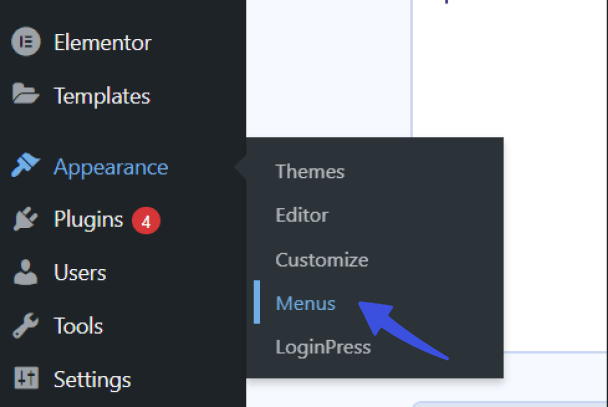
Step 2: Navigate to Appearance >> Menus
Go to Appearance and navigate to Menus option. Select the menu you want to edit.
Step 3: From the LoginPress section
Next, navigate to LoginPress section and click on Add-Ons option.
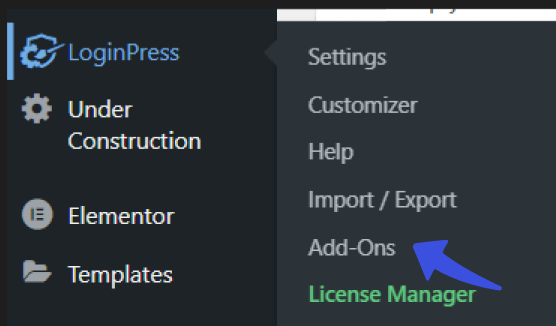
Step 4: Select Login/Logout Menu
Select this Add-On to your custom menu and arrange it as needed.
Read more about customization: How to Create Login Logout Menu with LoginPress (Free)
4. Programmatically Adding Custom Menus
In addition to simple drag-and-drop, you can add a WordPress custom menu using code.
Step 1: Register your Menu
Add this code snippet to your functions.php code:
register_nav_menu(‘custom-menu, ‘Custom Menu’);
Step 2: Display it in a Template
Using this command, display the changes in the template:
wp_nav_menu(array(‘theme_location’ => ‘custom-menu’));
This method provides complete control and is helpful for custom themes.
5. Creating Custom Menus with Widgets
Some WordPress themes provide areas that are called widget areas. In these widget areas, you can insert different types of content, including WordPress custom menus.
Instead of placing your custom WordPress menu in the header or main navigation bar, this method allows you to display a menu in more places on your site, like:
- The sidebar
This is a great navigational location for blogs or long-form content sites.
- The footer
This works great for contact links, policies, or any social links.
- Special widget zones
These zones are created by your chosen theme or depend on your page builder.
How to do it:
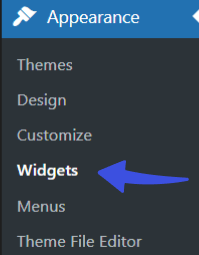
Step 1: Navigate to Appearance >> Widgets
First, navigate to Appearance and then click on the Widgets option.
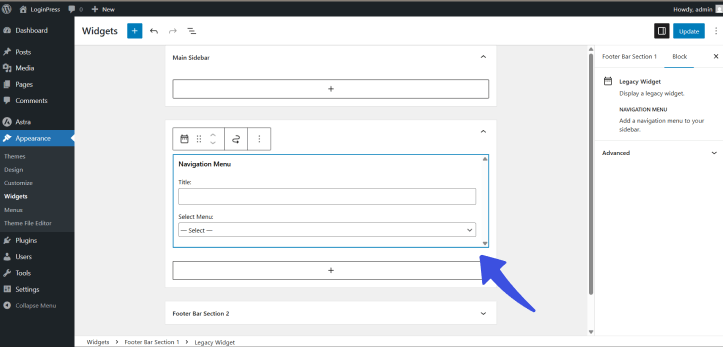
Step 2: Drag and drop the Navigation Menu
You can drag and drop the Navigation Menu widget to your desired area on the site.
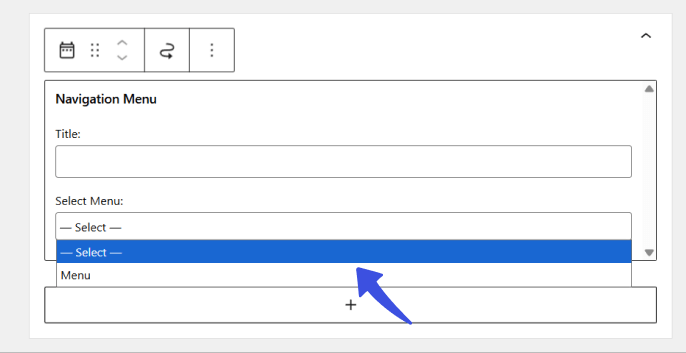
Step 3: Choose the custom menu
From the dropdown, choose the menu from the list of already created menus.
Step 4: Save Changes
Make sure to save your changes to implement them across the site.
This method is quite beneficial for displaying secondary menus. Any list of such valuable resources, support pages, or even login/account links can also be added.
How to Customize Menus in WordPress
Once you have created your custom menu, you can further personalize it to fit your brand’s needs.
1. Change Your Custom Menu’s Location
Each theme offers different menu locations, including the header, footer, and mobile.
You can:
Step 1: Set the Display Location
You can choose from different locations on your site and set the menu on desired location.
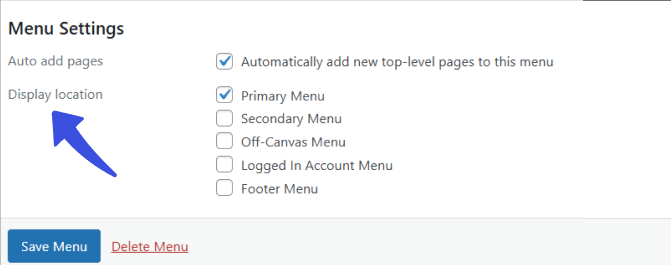
Alternatively, you can use Editor to access block themes and place the Navigation block.
Advanced users can register new menu locations using:
register_nav_menus();
2. Add a Social Menu
You can link to your social profiles via a custom menu:
Step 1: Create a new menu titled Social Menu
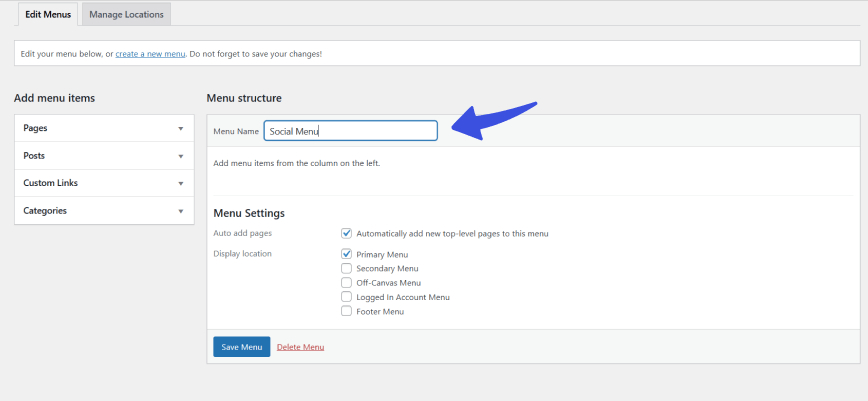
Step 2: Add Custom Links
Add Custom Links to your Facebook, Twitter, LinkedIn, and other social media profiles.
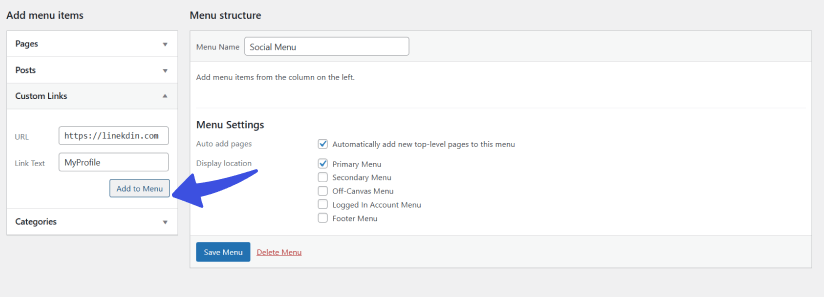
Step 3: Save Changes
When WordPress recognizes the URLs, it often automatically adds the corresponding icons.
Extend This With Social Login: Let users log in using Facebook, Google, or Twitter using the LoginPress Social Login Add-on.
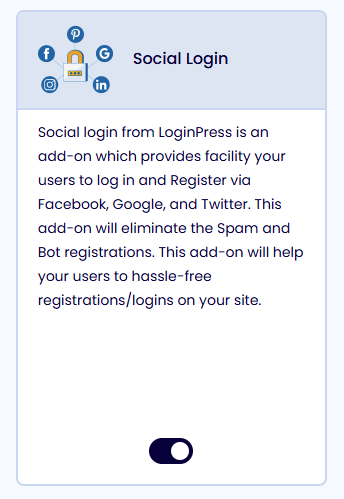
Learn more about Social Login Benefits.
3. Add Custom Links to Your Menu
You can further enhance your custom menus in WordPress by adding custom links to facilitate quick navigation.
Step 1: Navigate to Menus
From the dashboard, go to Menus option.

Step 2: Select the Menu to Edit
- If you have multiple menus, choose the one you want to edit from the dropdown at the top and click Select.

Step 3: Add a Custom Link
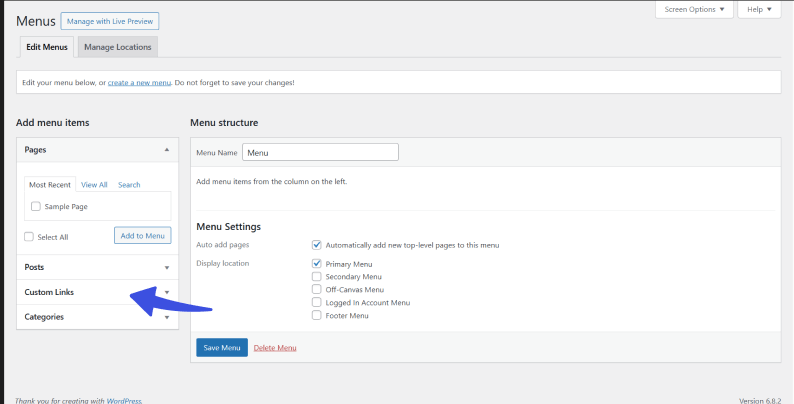
- In the left sidebar, click on Custom Links.
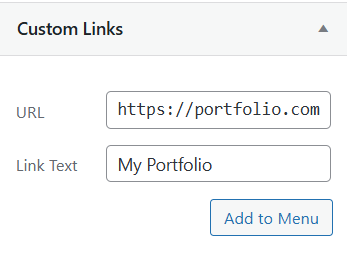
- Fill in the URL. Here you will enter the web address you want to link to (e.g., https://example.com).
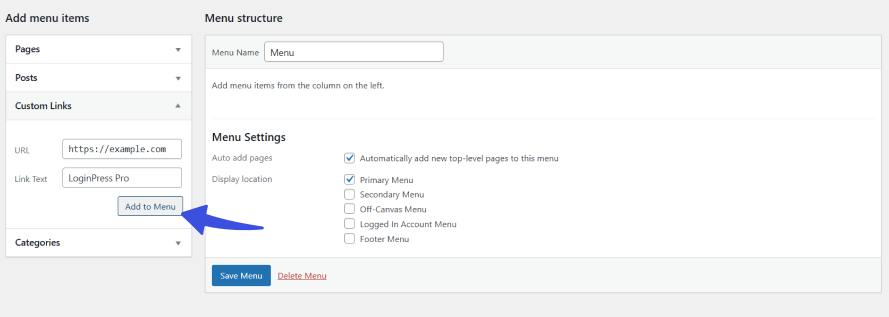
Step 4: Click Add to Menu
Now, click Add to Menu on your site.
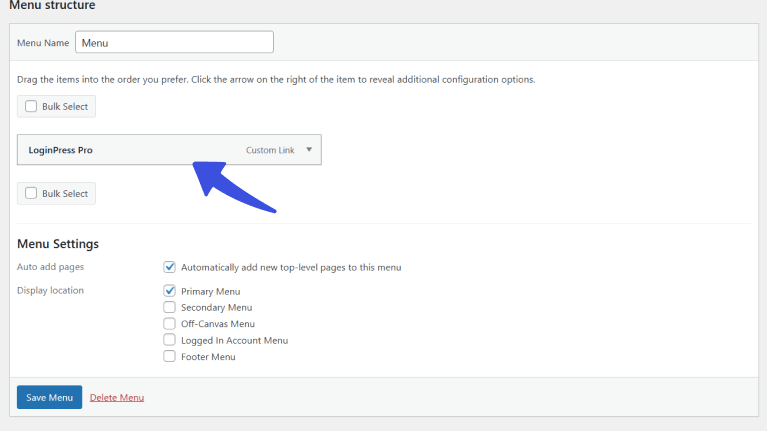
- Your custom link will appear at the bottom of the menu structure.
Step 5: Drag and Drop to Reorder (Optional)
- You can reposition it by dragging the item wherever you’d like.
Step 6: Save Menu
- Don’t forget to click the Save Menu button to apply your changes.
4. Delete and Rename Menu Items
A custom WordPress menu can easily be renamed or removed through the dashboard if you’re using a classic (non-FSE) theme.
Step 1: Navigate to Appearance >> Menus
First, navigate to Appearance and then click on Menus option.

Step 2: Select the Menu You Want to Rename
Use the dropdown at the top to select the menu you want to change.
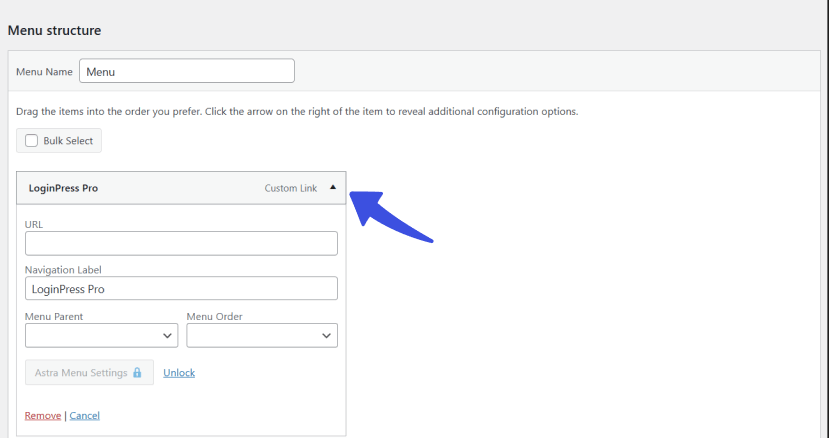
In the “Menu Name” field (top of the screen), enter your new menu name.

Step 3: Click the Save Menu
After writing your menu name, click on the Save Menu. This saves your new menu name.

Now let’s see how to delete the menus!
Step 1: Go to Appearance >> Menus
Select the Menu you want to delete

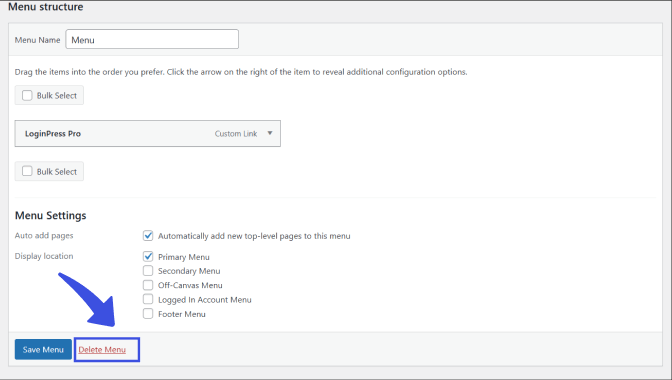
Step 2: Click the Delete Menu Link
You’ll find this link at the bottom of the menu settings box.
Step 3: Confirm Deletion
WordPress will ask for confirmation. Click OK to permanently delete the menu.
How To Enhance Your Login Page with LoginPress
LoginPress, the best WordPress login page plugin, can help you go far beyond just adding links to your WordPress menu.
LoginPress gives you complete control over how your WordPress login page looks and functions. Plus, it requires no coding.
After placing login/logout links in your navigation menu, here’s what you can do next with LoginPress:
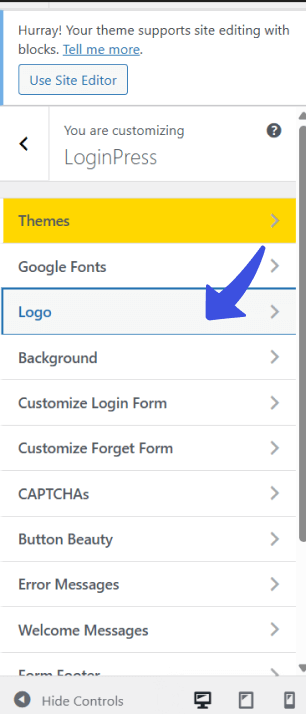
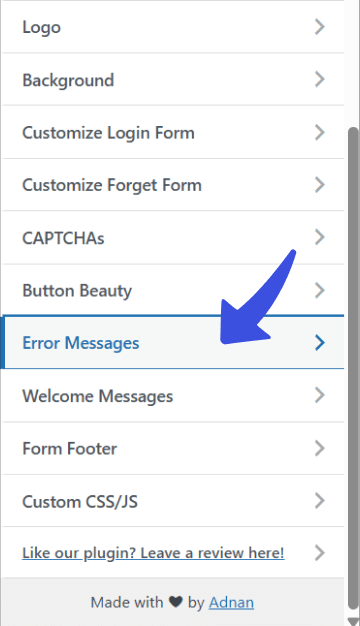
- Change the Logo: You can replace the default WordPress logo with your preferred branding.
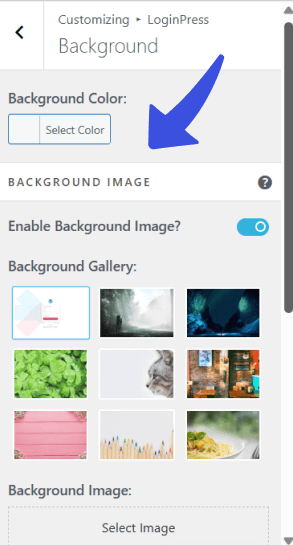
- Customize Colors & Backgrounds: By matching the login page design to your website’s theme, you can offer users a seamless experience.
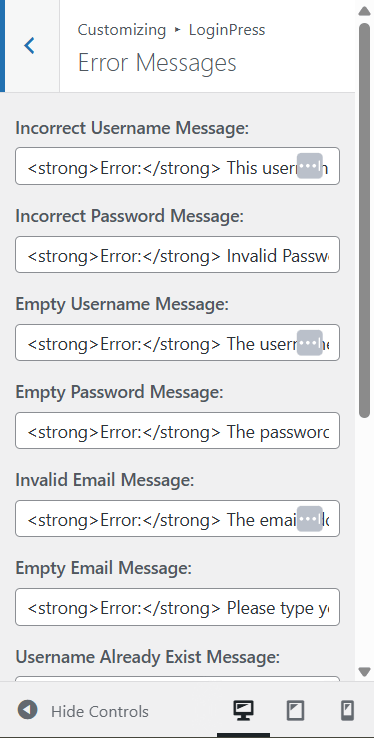
- Edit Error Messages: You can add personalized messages to enhance the user experience.
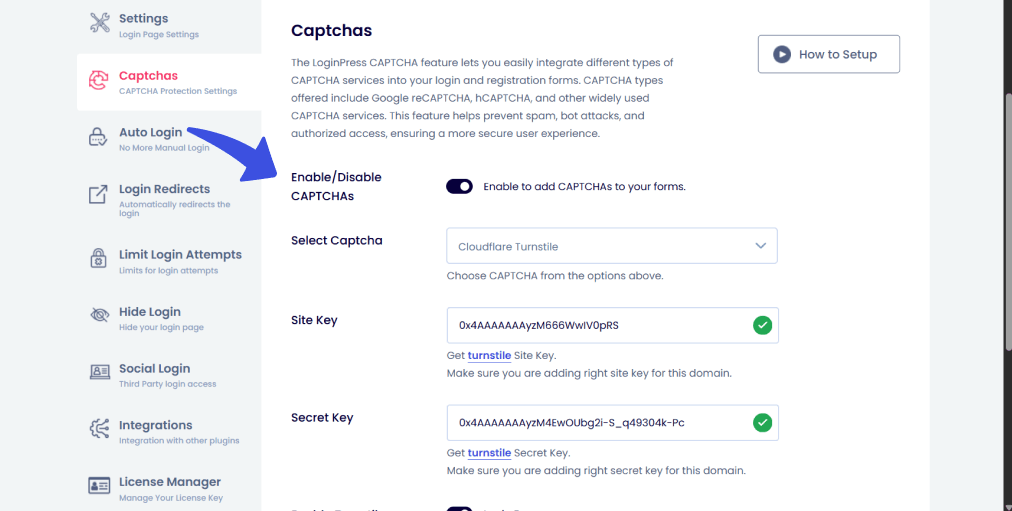
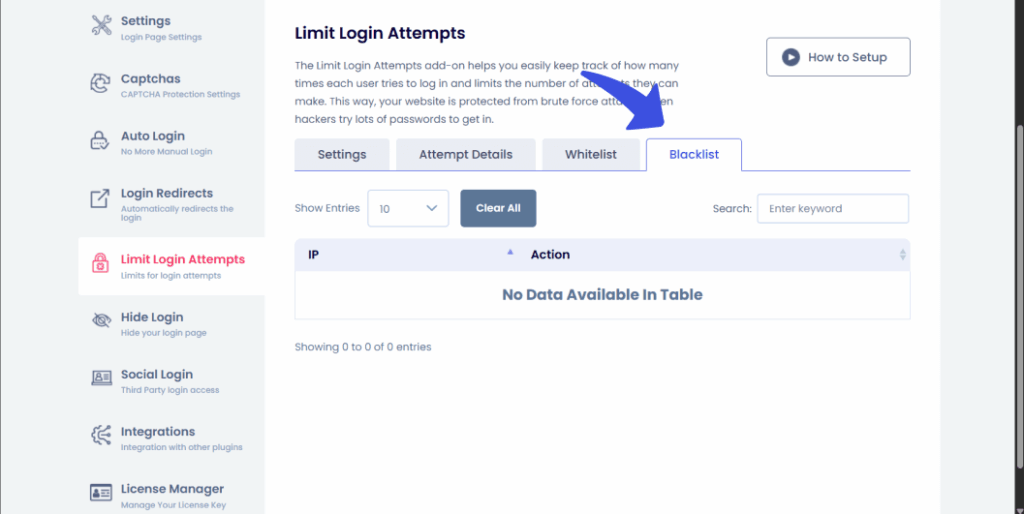
- Add reCAPTCHA & Login Security Features: You can protect your site from brute-force attacks and bots by enabling reCAPTCHA on your login form.
How It All Connects
Adding a login/logout menu is a significant first step in improving your site’s user flow and engagement. When paired with a powerful plugin like LoginPress and its customization options, you obtain a fully branded, secure, and seamless login experience.
WordPress Custom Menus FAQs
How do you create a custom menu in WordPress?
To create a custom menu in WordPress, navigate to Appearance >> Menus in your admin dashboard. Click on Create a new menu, and you can now start adding pages, posts, and custom links.
After adding the menus, it is crucial to arrange them using the drag-and-drop feature. Later on, click the Save Menu to publish it.
How to create a dynamic menu in WordPress?
A dynamic menu in WordPress updates based on user role, login status, or site activity. You can create one using plugins like LoginPress. These menus change automatically based on user interaction.
How to customize the menu bar in WordPress?
To customize the menu bar, navigate to the menu option. Now you can also use the theme builder/plugin like Elementor. You can now change the menu alignment, background color, font style, hover effects, and even add icons for better design and navigation.
How do I customize the menu in WordPress’s Appearance section?
In the menus section, you can change the menu’s position (e.g., primary, footer), rename menu items, and manage visibility. For advanced customization, you can make use of custom CSS or menu-enhancement plugins to adjust styling and behavior as needed.
Final Thoughts
Once your menu is in place, it’s easy to further enhance your site’s user experience, especially with WordPress Plugin LoginPress, which allows you to customize your login pages to match your brand. From dynamic menus to menu styling, WordPress offers endless possibilities for personalization.
Creating a custom menu in WordPress gives you complete control over how users engage with your site.
That is all for this article. For more related articles:
- How to Create Login Logout Menu with LoginPress
- Adding Login Logout Menu Filters to Your WordPress Website
- How to Add a Login Button to Your WordPress Menu (2025)
Comment below to let us know which of the methods you find the most useful from the article.


