How to Create Front-End Login Page and Widget in WordPress

To create a front-end login page in WordPress, install LoginPress, add a login page to your site with its Customizer, and add the Login Widget add-on for a login form in your widget areas.
In this post, I will show you each step with LoginPress.
Table of Contents
Why Do You Need Front-End Login in WordPress?
The default WordPress login page looks the same on every site, so it does not show your brand.
Here’s what a generic WordPress login page design looks like:
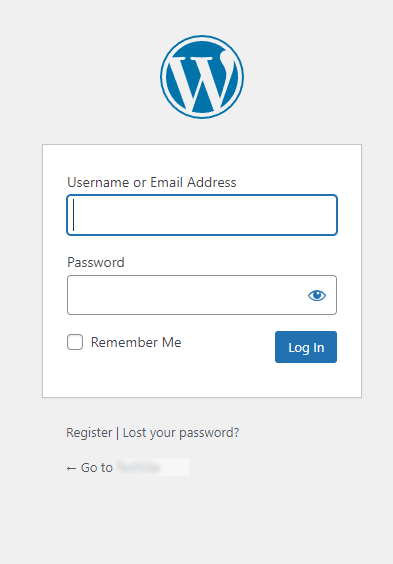
As you can see, aside from the WordPress logo, the page has got nothing in the way of colors, branding, and background images. So, there is no way of knowing which website you will log in to when you fill out the form and click Log In.
If you’re running an online store or any other site where users can register and log in, it’s better to create a front-end login page and widget that provides a better user experience.
You can customize the login page of your WordPress site with your branding or even add a simple login form to your WordPress sidebar.
How to Create a Front-End Login Page and Widget in WordPress with LoginPress
Several plugins can add a front-end login page to WordPress. This guide uses LoginPress.
LoginPress is a WordPress login page customizer plugin with over 200,000 active installations. You can easily create a custom front-end login page and a login widget on your Website.
Here we will show how you can create front-end login page in WordPress with the LoginPress plugin.
Step #1: Install & Activate LoginPress
To create a front-end login page, you’ll need to install and activate LoginPress from the WordPress directory. For more details, see this step-by-step guide on How to Install And Activate LoginPress (Free).
But if you want to add a Login Widget, you’ll probably need to upgrade to the premium version. Since LoginPress Login Widget is a premium Add-on.
Note: See our detailed guide on How To Install And Activate the LoginPress PRO Version?
Step #2: Get Started with LoginPress Plugin
Once you activate the plugin, you’ll notice that your WordPress Default Login Page automatically reverts to the LoginPress Default Theme.
To configure the settings of LoginPress, go to the left sidebar of the WordPress admin dashboard and navigate to LoginPress.
Here resides the main functionality of LoginPress.
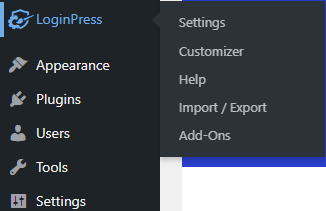
Once you’re there, you will see the LoginPress Settings, Customizer, and Add-Ons, where you need to make various tweaks.
1. Adding Front-End Login Page
LoginPress is a WordPress login page customizer plugin that lets you build custom login pages straight from your WordPress admin dashboard.
As soon as you Install and Activate the LoginPress, you’ll notice that your WordPress Default Login Page reverts to the LoginPress Default Theme automatically.
But you can further enhance it with LoginPress premium themes. LoginPress is very beginner-friendly and has many professionally designed premium login page theme templates that can be used to build your login page.
LoginPress has a Customizer section to customize the default WordPress login page.
Go to LoginPress in the WordPress Dashboard and click Customizer to get started. You’ll be taken to the Customizer screen, where you get several essential options for customizing the default WordPress login page.
Note: See our detailed guide on How to Customize Login Page Theme with LoginPress.
This is not it; you can customize Google Fonts, logos, and Backgrounds just a click away from your front-end login page. You can even go for changing the Form Footer.
Wait, we are still going. LoginPress offers excellent Custom CSS/JS that lets you override your theme’s styles and add desired functionality without hurting your theme or plugin files.
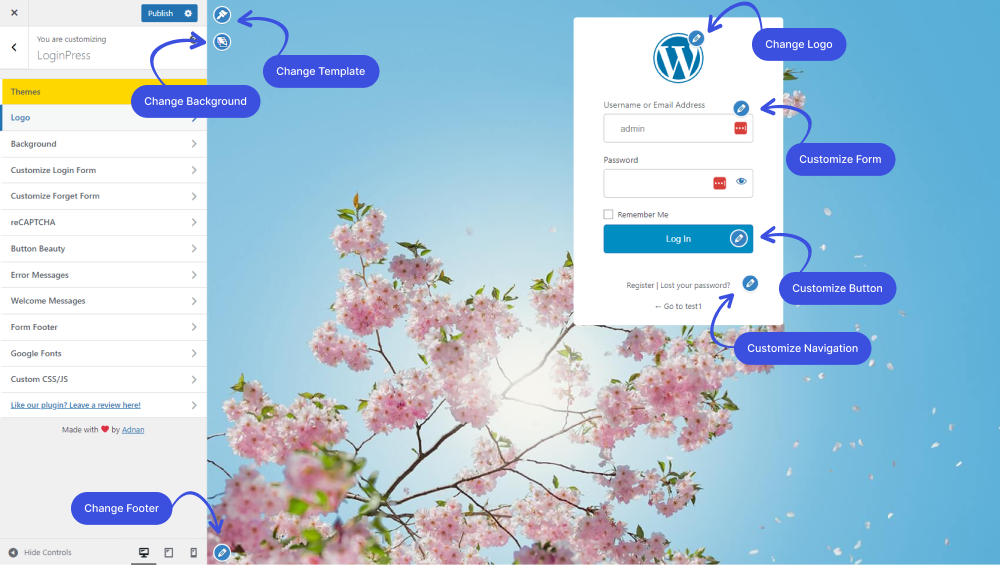
Note: You can see Introduction to LoginPress – Custom Login Page Customizer.
2. Adding Front-End Login Widget
LoginPress lets you add a login form to your WordPress widget areas with the Login Widget add-on.
Note: We assume that you have already upgraded to LoginPress Pro. If not, you can check out our guide on How To Install And Activate LoginPress PRO Version?
To add Front-End Login Wiget, go to the left sidebar of the WordPress admin dashboard. Navigate to LoginPress and click Add-Ons.
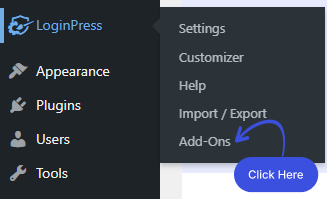
Next, you need to see the Login Widget Add-On and Enable the toggle button to activate the Login Widget Add-on.
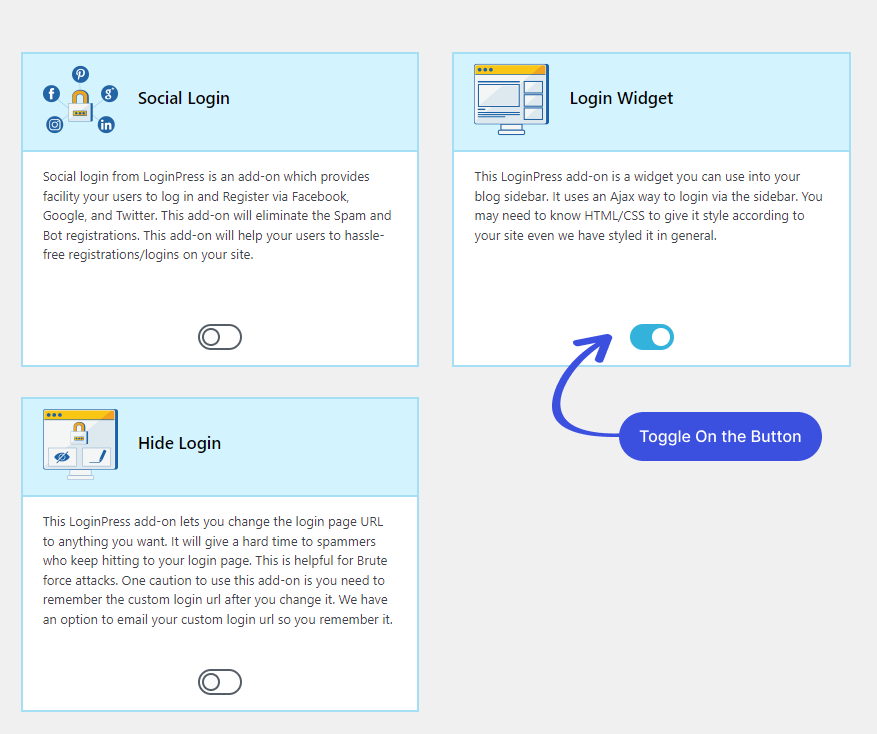
Once you’ve successfully enabled the Login Widget, navigate to Appearance and click Widgets.
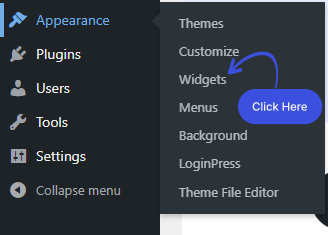
A new screen will open up. Here you can see the Widget with a “+” sign at the top left corner of the screen.
Click on the “+” button.
Once you click on the +, you can search for the Login Widget and drag and drop it where you want to display it.
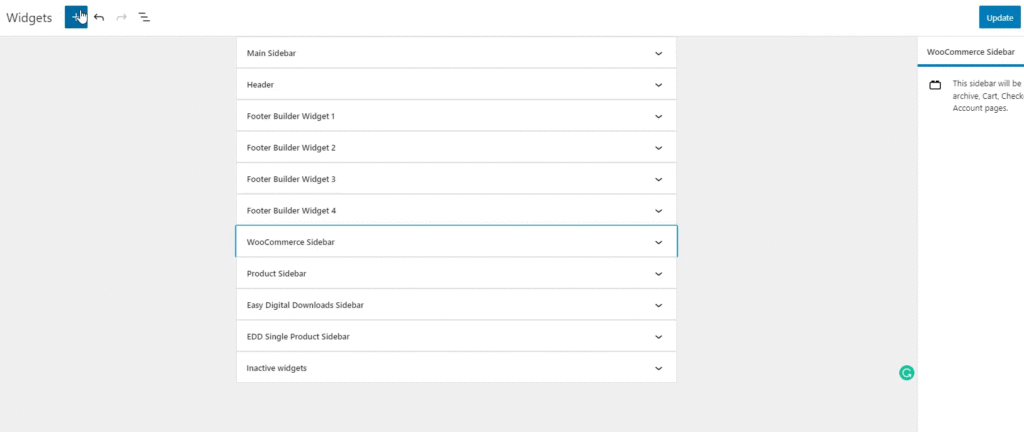
Once you are done, don’t forget to click on the update button.
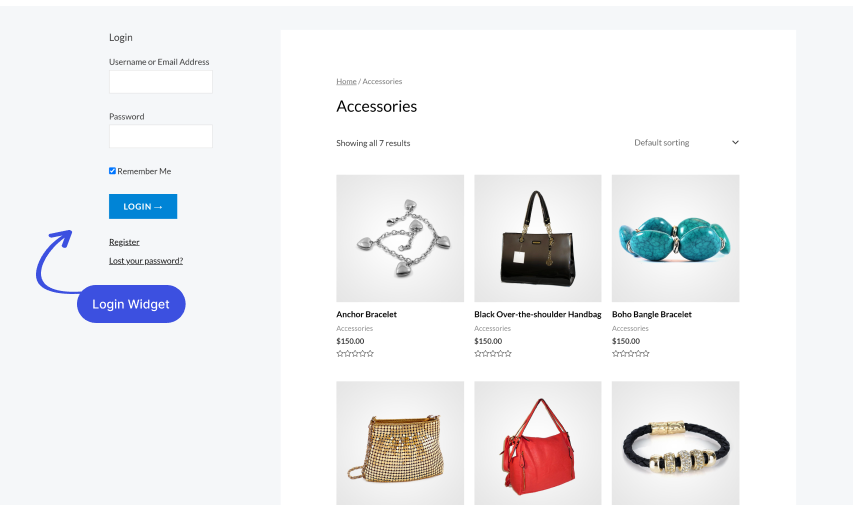
Now your users can see the login widget on the sidebar or any other area of your WordPress site where you added the Login Widget.
Final Thoughts: Make Logging Easy
You can create a front-end login page and widget in WordPress with LoginPress, and both match your theme and brand.
Another consideration you should make is adding a login option to your sidebar using the LoginPress Login Widget Add-on.
Now try this out! How easy did you think LoginPress was to use?
Do you have any questions about adding a front-end login page and widget to your WordPress site? Ask in the comments section below, and we’ll try to help!
That’s all we helped you to create a Front-End Login Page and Widget in WordPress.. You may also want to check out Best Login Widget Plugins and How To Redirect Woocommerce Users after login.
Frequently Asked Questions
How do I customize my WordPress login page?
You can easily customize the login page of your WordPress site with the help of a login page customizer plugin or by doing it manually using a code.
How can I add a login widget to the sidebar of the WordPress site?
You can easily add a login widget to the sidebar of your WordPress site with the LoginPress Login Widget Add-on.