
To make the plugin extra easy and functional as per the requirements, here comes the detailed documentation regarding the plugin. All about educating the things related to the plugin.

How to Customize reCaptcha with LoginPress (Premium)
The default WordPress login page is vulnerable to brute-force attacks as it is often a prime target for hackers and spammers.
The attackers use automated scripts and bots to gain unauthorized access to your WordPress admin dashboard.
You can uplift your site's security anytime with the LoginPress premium reCAPTCHA feature.
It’s one of the most popular ways to prevent bots from logging into your WordPress site and ensures that only verified users can log in.
Note: We assume you’ve already upgraded to LoginPress Pro and enabled reCAPTCHA.
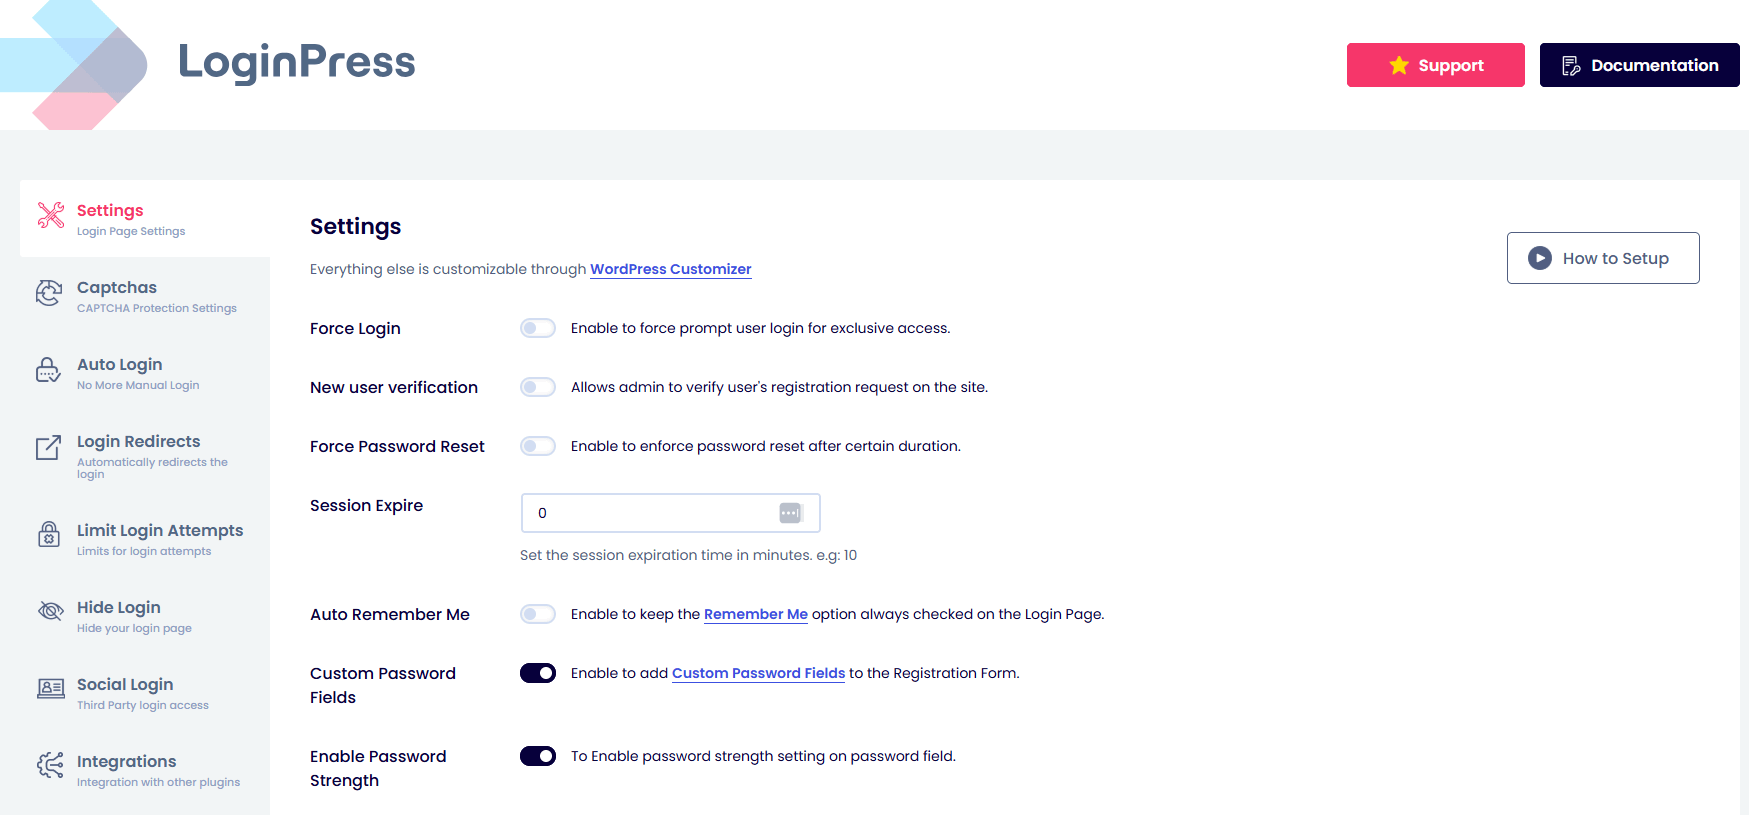
This complete article will show you how to customize reCAPTCHA in terms of Error Message and Size with the LoginPress reCAPTCHA (Premium) feature.
Let’s get started!
reCAPTCHA Feature in LoginPress
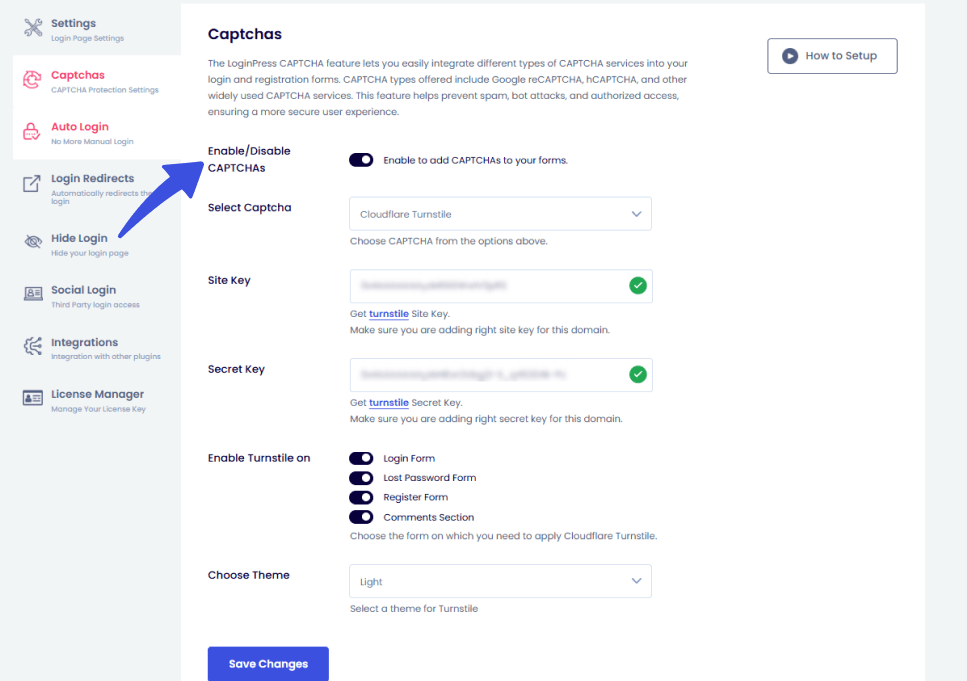
First, you need to enable CAPTCHA on your forms. To do that, follow the steps:
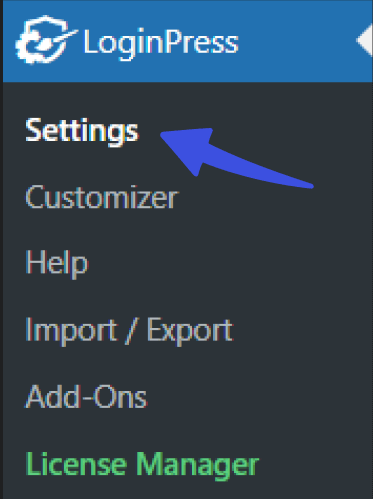
Step 1: Go to LoginPress >> Settings
First, go to the left sidebar of the admin dashboard of your WordPress website.
Navigate to LoginPress and click Settings.
A new screen with all the CAPTCHA-related features will open.
Select the Enable reCAPTCHA feature option in the LoginPress Customizer.
Step 2: Customize the CAPTCHA
Once you have enabled CAPTCHA, it is time to customize it according to your login form branding. To that end, LoginPress provides a full login customizer.
To access that, follow the steps:
1. Add reCAPTCHA Error Message
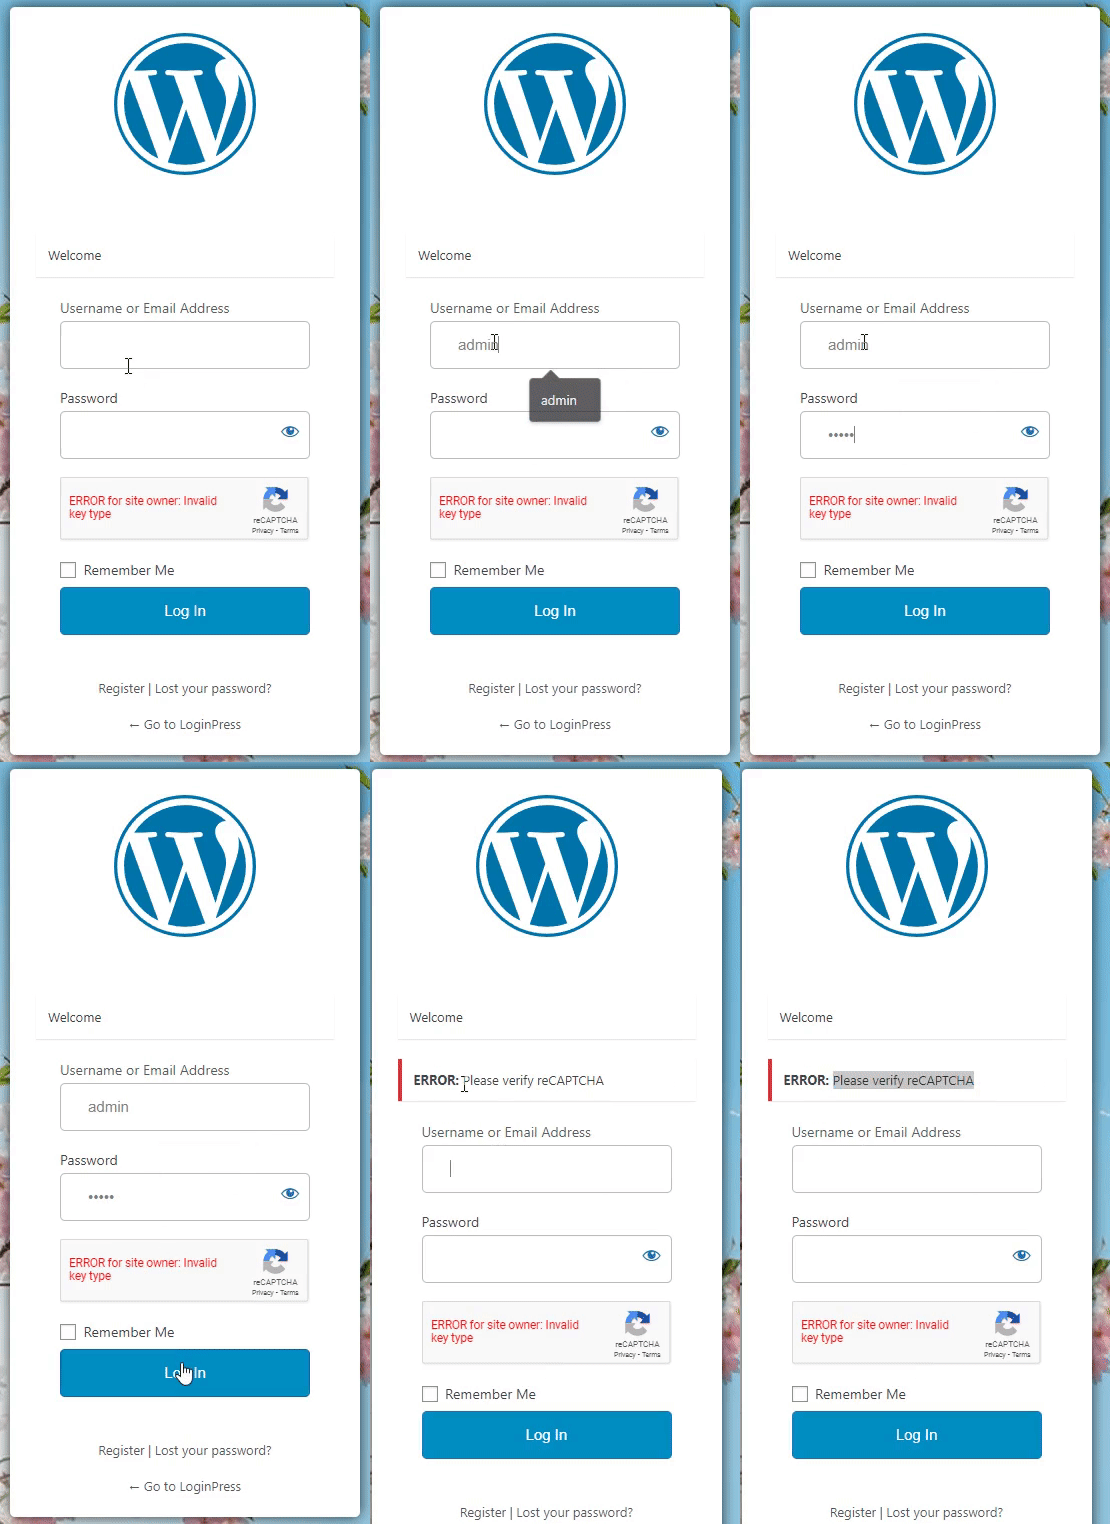
The LoginPress reCAPTCHA Error Message is the easiest way to customize the reCAPTCHA error message on the login form that appears when the user tries to Log In without verifying reCAPTCHA.
You’ll need to fill in the reCAPTCHA Error Message field to change the reCAPTCHA error message.
Note: Write customized Error Messages after <strong>ERROR:</strong>.
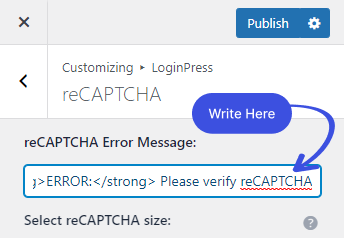
You can customize these reCAPTCHA Error Messages to anything you want, e.g., "Please verify reCAPTCHA."
For further ado, see the GIF below:
2. Select reCAPTCHA size
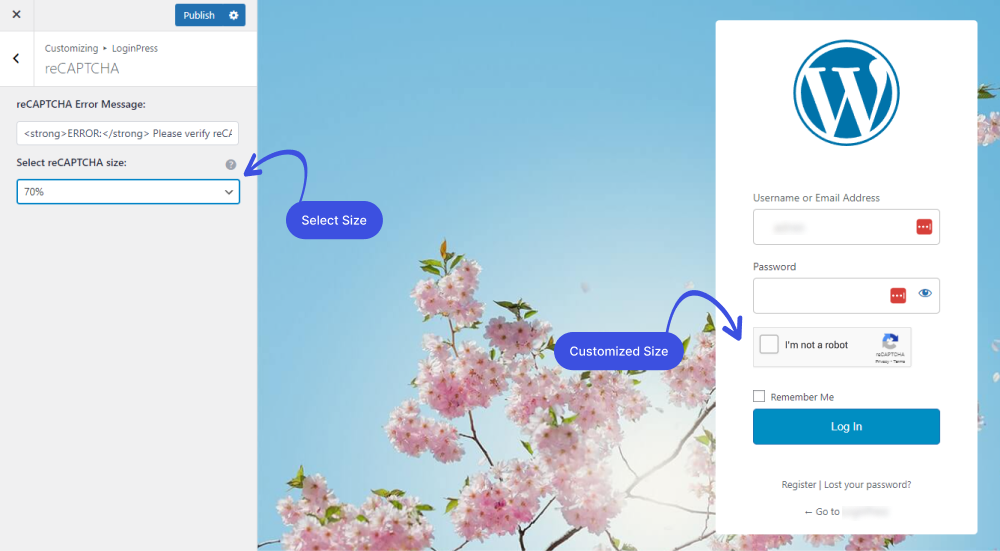
The Select reCAPTCHA size feature allows you to control exactly how the reCAPTCHA size appears on the login page.
To use custom sizing with LoginPress, select a percentage from the drop-down menu. Adjust as needed and watch it in the LIVE Preview on the right.
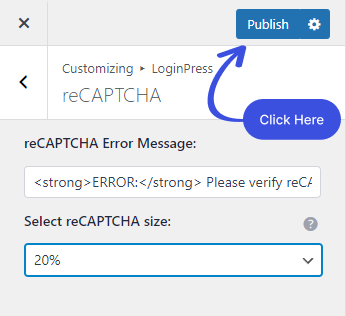
When done, click the Publish button to make all the changes live.
That's it! Here we’ve demonstrated how to customize the reCAPTCHA error message and size after enabling it on the login form with the LoginPress reCAPTCHA (premium) feature.
Try this and let us know how much it helped you!
If you have any questions or concerns about this matter, please don’t hesitate to contact our support team.

Frequently Asked Questions (FAQs)
These FAQs answer the most common questions about our WordPress custom login page plugin.


Where can I get support for LoginPress?
If you need help with LoginPress, you can contact us here. We’ll be happy to answer any questions about the plugin.
Do you have an affiliate program?
Yes, we have an affiliate program that you can sign up for here. As an affiliate, you’ll earn a commission on every sale you refer to us.
Do you offer refunds?
Yes, we offer a 14-day money-back guarantee on all of our plans. If you’re unsatisfied with LoginPress, simply contact us within 14 days of your purchase, and we’ll process a refund.
Can I upgrade my license after my initial purchase?
Yes, you can upgrade your LoginPress license at any time. Simply log into your account and go to the My Downloads page. From here, you can upgrade your license and download the latest version of the plugin.
Will LoginPress slow down my website?
No, LoginPress will not slow down your website. The plugin is lightweight and only loads the necessary files when someone tries to access your login page.

If you Still have Questions?
Get In Touch