
To make the plugin extra easy and functional as per the requirements, here comes the detailed documentation regarding the plugin. All about educating the things related to the plugin.

Explore LoginPress Settings (Free and Pro Version)
Now that you’re on your way to customizing your WordPress login page using LoginPress, it’s time to sit back and explore our plugin settings first. Stuck somewhere?
Our guide provides a detailed walk-through of the settings, covering both the free and pro versions of LoginPress.
To get the best results for your login page, it’s important to understand what these settings are, what they do, and how to configure them properly.
Let’s get started!
LoginPress Settings (TOC):
Access LoginPress Settings
Note: We assume you’ve already installed and activated LoginPress on your WordPress site. If not, see our detailed guide on How to Install And Activate LoginPress (Free).
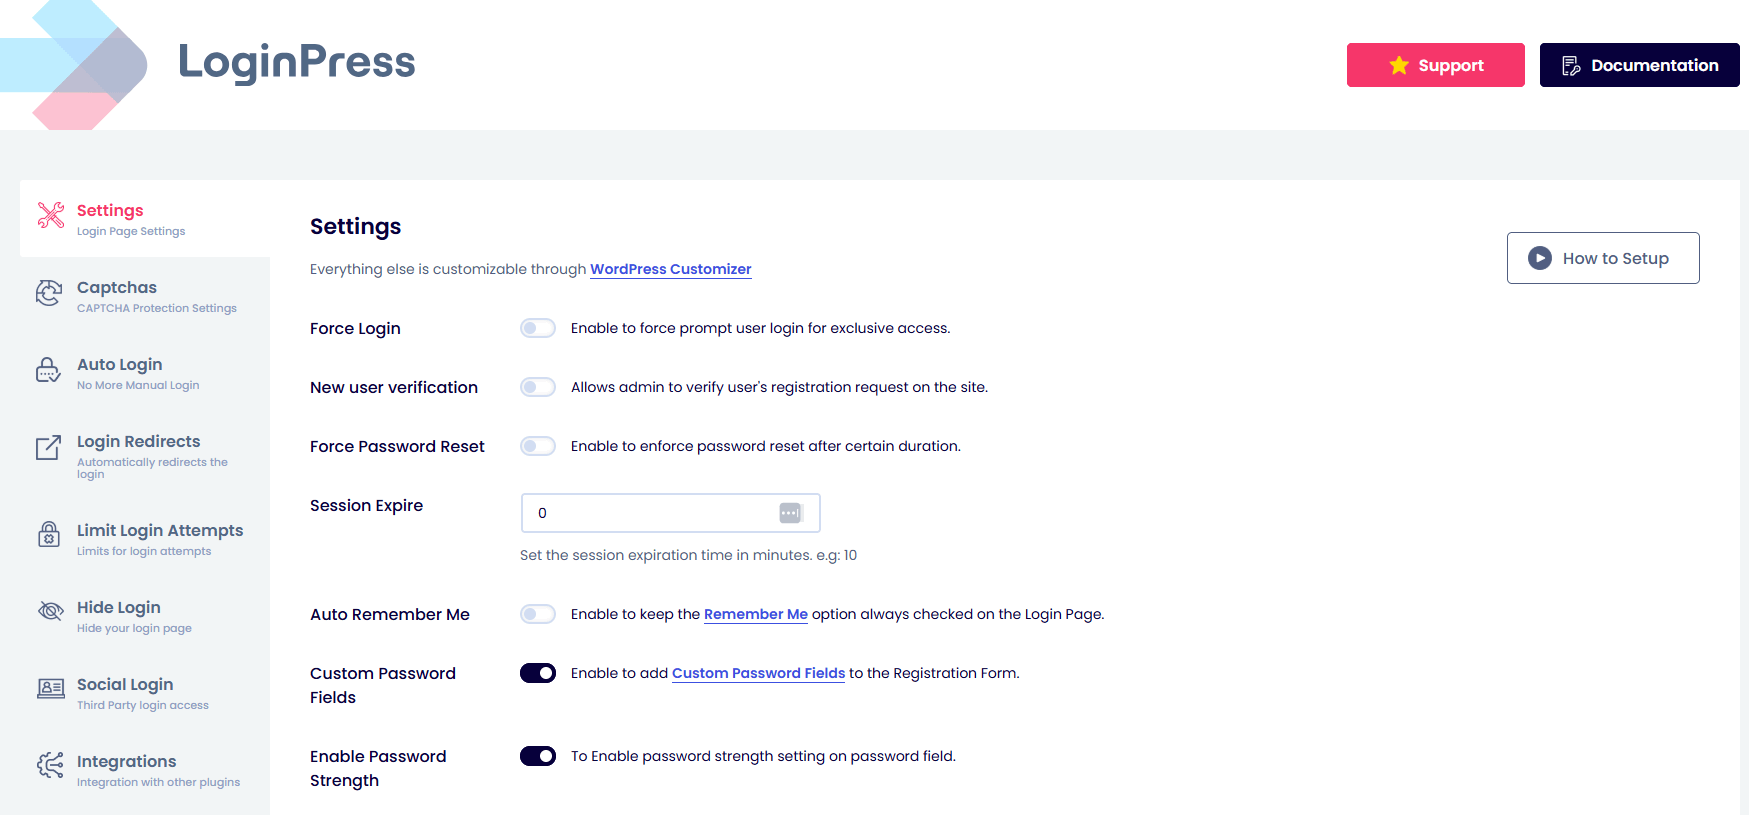
You can access LoginPress settings through the WordPress dashboard >> LoginPress >>Settings.
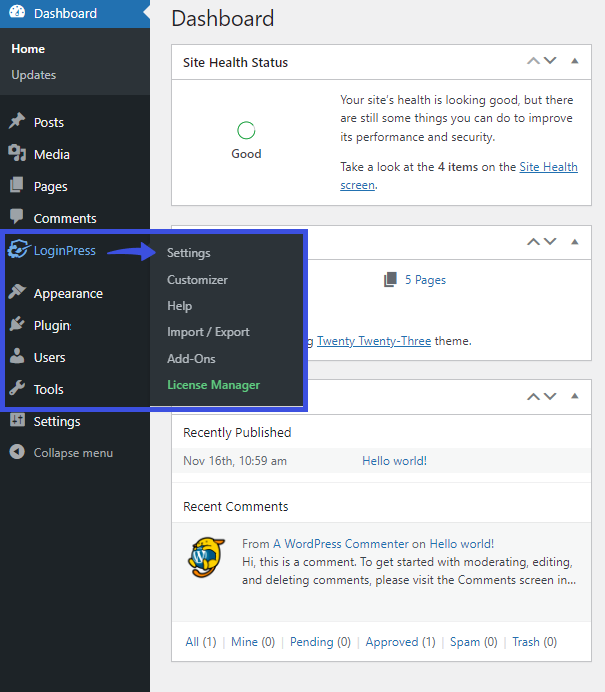
You’ll be taken to the following screen:
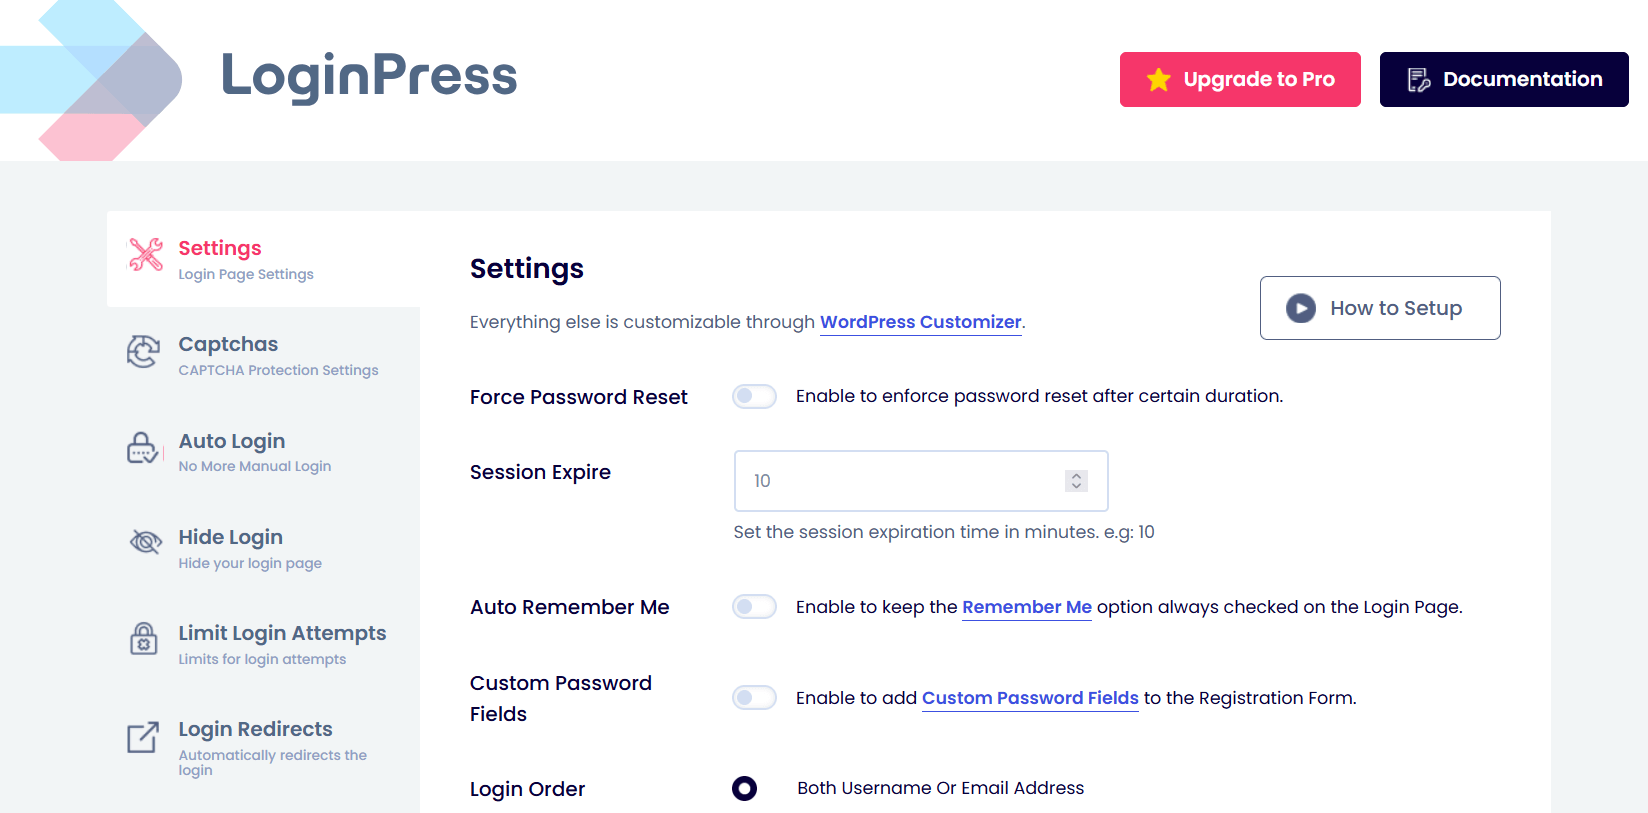
LoginPress Free Version Settings/LoginPress Settings (Free Version)
As the heading suggests, this section covers all the settings that come along with the free version of LoginPress, including:
- Session Expire (Free)
- Auto Remember Me (Free)
- Custom Password Fields (Free)
- Login Order (Free)
- Lost Password URL (Free)
Let’s get started!
1. Session Expire (Free):
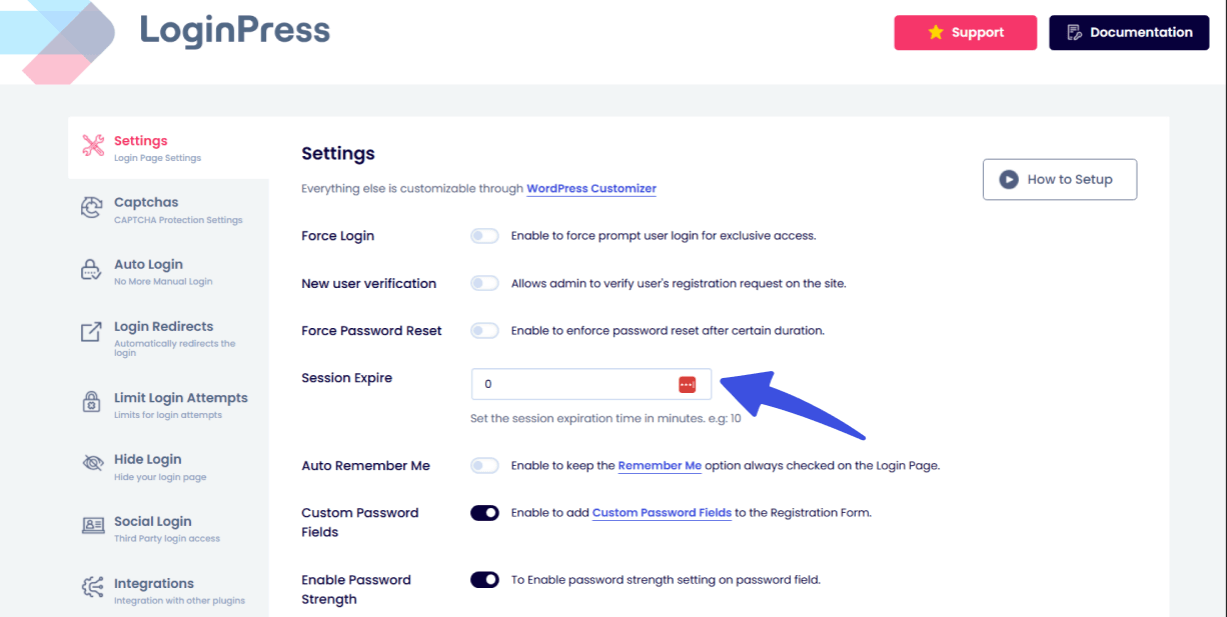
By default, WordPress expires after 48 hours, and you can extend it to 14 days by checking the “Remember Me” box.
However, you cannot customize the session expiration time because WordPress doesn't provide this functionality in its core.
The LoginPress Session Expire fills in the gap nicely.
You do not need to use a separate plugin; this feature is built into the core LoginPress Settings and lets you easily set a custom session expiration time.
Just set the custom session expiration time in minutes, and you’ll be ready.
Note: To learn more about this feature, see our tutorial on How to Customize the Session Expire Time in WordPress.
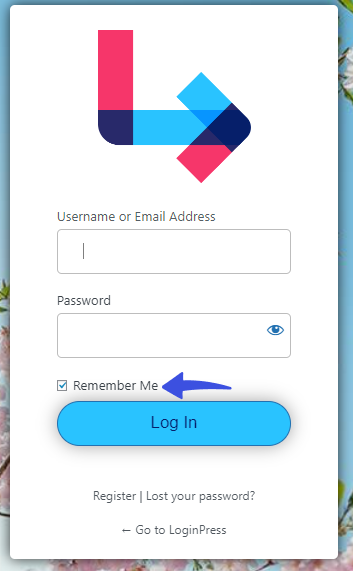
2. Auto Remember Me (Free):
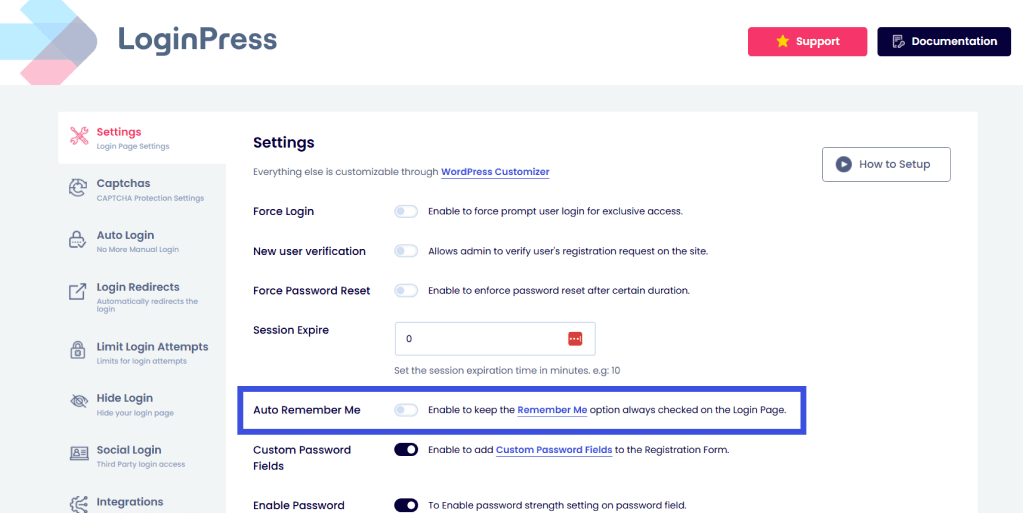
By default, WordPress offers the Remember Me feature to save your username and password for future logins.
But you have to check the box every time to enable this option. Inefficient right?
Say goodbye to redundant steps!
You get the Auto Remember Me feature in the LoginPress Settings.
It is a handy solution that keeps the default WordPress Remember Me option always checked on the login page.
See what it looks like on the login form:
Note: For more details on how to use this setting in LoginPress, be sure to check out our detailed guide on How to Enable the Auto Remember Me Checkbox on the Login Form.
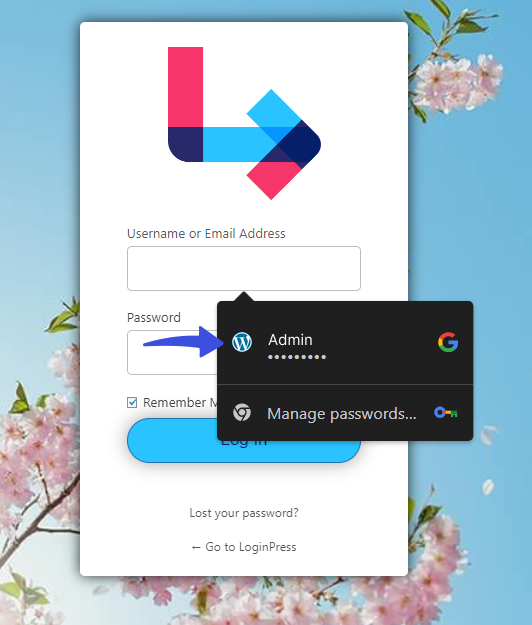
3. Custom Password Fields (Free):
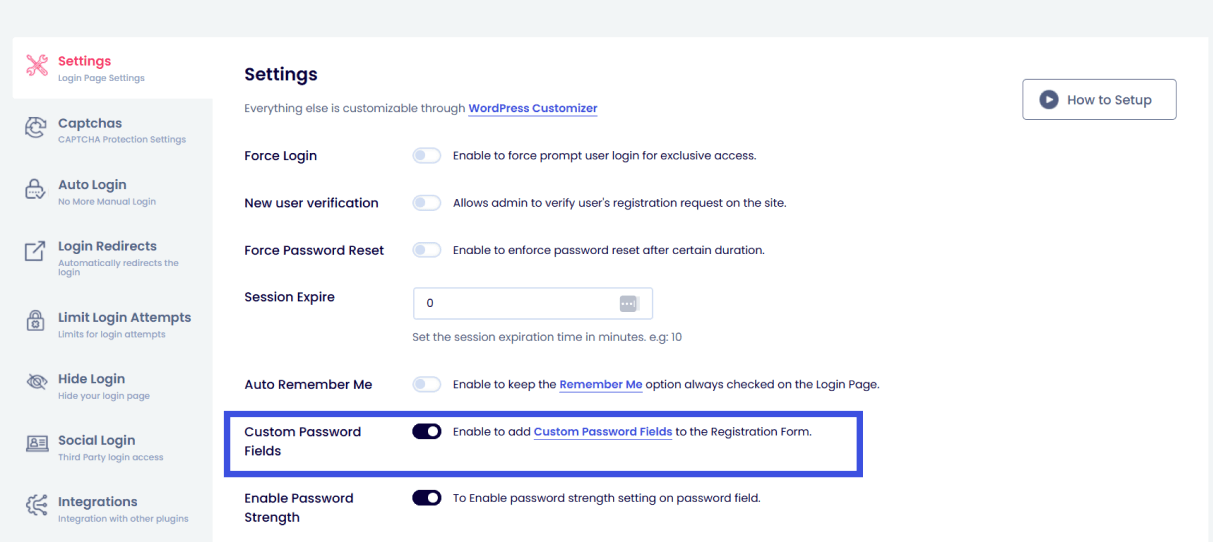
LoginPress offers a Custom Password Fields feature that lets you create custom password fields on a registration form.
Just toggle on this setting, as shown in the screenshot above.
This feature lets users easily create a password during registration, without requiring a password confirmation email.
See what it looks like on the Register form:
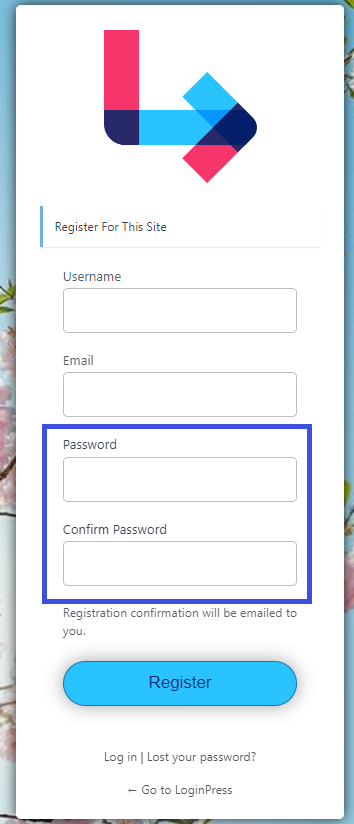
These LoginPress settings help you to enforce password complexity requirements and customize password reset options, enhancing the security of your WordPress accounts.
Note: For details on available custom password field options, see our guide, "Add Custom Password Fields to the Registration Form."
4. Login Order (Free):
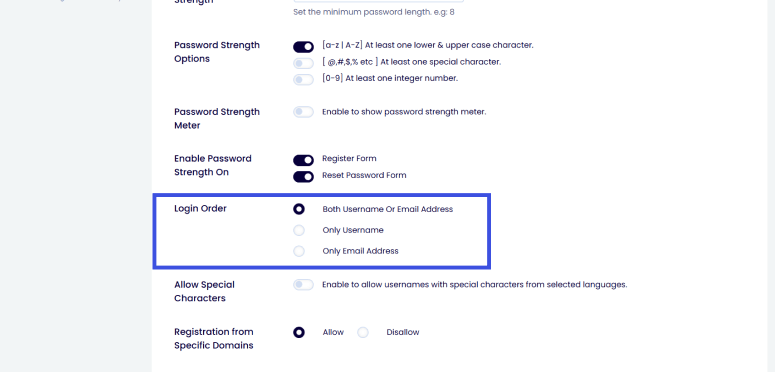
You can also find the Login Order feature on the LoginPress Settings screen. It helps you customize login order on the login page exactly as you want. You can opt for:
- Both Username Or Email Address
- Only Username
- Only Email Address
See how it appears on the login page:
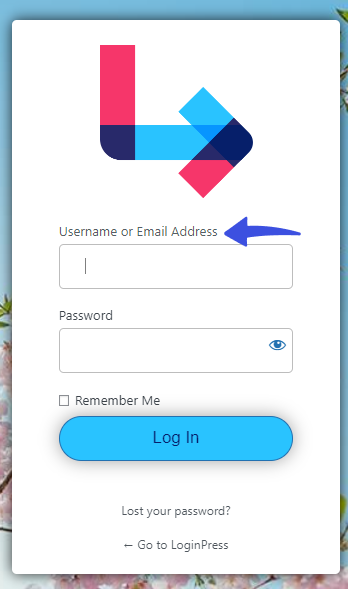
Note: Email address is the best option, as it makes it easy to log in with your email instead of remembering a random username.
5. Enable PCI Compliance (Free)

LoginPress now offers the PCI Compliance feature to strengthen login page security standards.
WordPress, by default, autocompletes the login fields on the Login, Register, and Forget Password Forms.
See the image below:
With the LoginPress PCI Compliance feature, you can easily disable this default autocomplete behavior.
See the results:
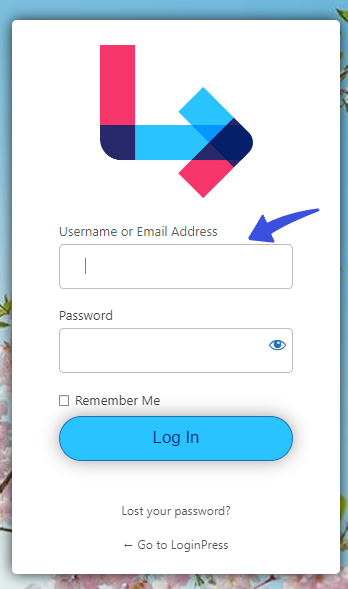
Note: Want to know how to do it? See our detailed guide on How to Make Your WordPress Login Page PCI Compliance.
What Settings Come with the LoginPress Pro Version?
Note: Here, we assume you’ve already installed and activated LoginPress Pro on your WordPress. If not, see our detailed guide on How To Install And Activate LoginPress PRO Version?
LoginPress Pro unlocks other exciting features in the Settings section.
Here is what you get with LoginPress Pro:
Let’s get started!
1. Force Login (Premium)
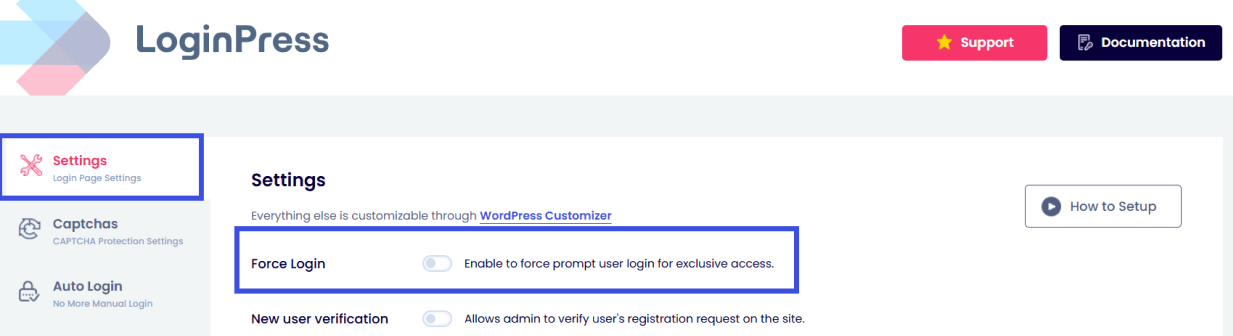
LoginPress Pro Settings offers the Force Login feature. This feature lets you prevent users from viewing your WordPress site without logging in.
Just because you force a login for a user does not mean they have admin or editor access to your website; it simply means you require them to log in as a member to view your content.
2. reCAPTCHA (Premium)
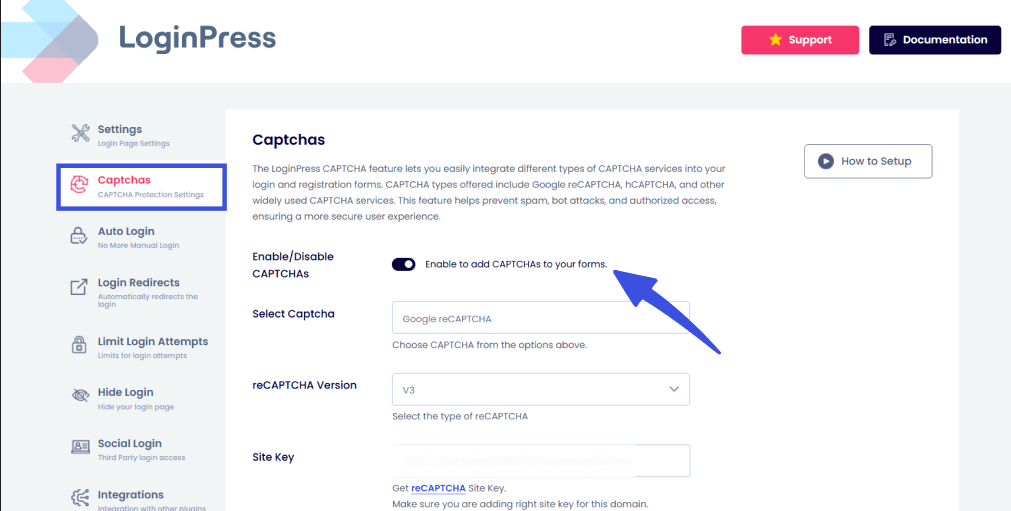
LoginPress Pro now offers an Enable reCAPTCHA feature, allowing seamless integration of Google reCAPTCHA into the login, Lost Password, and Register forms.
It best helps you protect your website from spam or abuse. It is like a shield for your website, protecting you against bots and other malicious software.
To get started with the option, you’re required to toggle on the Enable reCAPTCHA option from the LoginPress Settings screen.
See the image below:
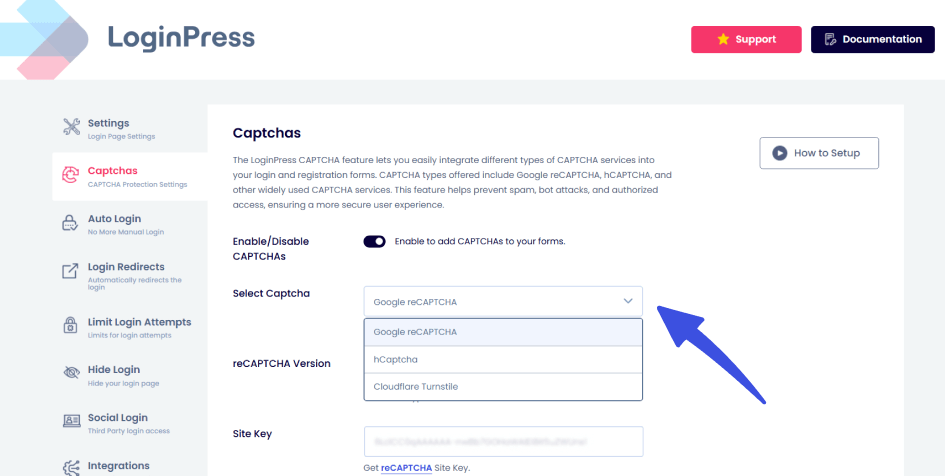
When done, you can see different options to integrate reCAPTCHA to your site, including:
- reCAPTCHA Type: You can easily choose between different reCAPTCHA types, including:
1. V2 I'm not a robot (enables I’m not a robot checkbox)
2. V2 Invisible (The user does not need to click on the reCAPTCHA checkbox; instead, it is invoked directly when the user clicks the submit button.)
3. V3 (offer a feature of setting reCAPTCHA score to analyze whether the visitor is a human or a robot)
- Choose a theme: You can choose between a Light and dark theme for your reCAPTCHA.
- Choose language: Select the language you want.
- Enable reCAPTCHA: This feature lets you enable reCAPTCHA for the Login Form, Password Form, and Register Form.
Note: If you want to add reCAPTCHA to your login page, see our detailed guide for How to Add reCAPTCHA On WordPress with LoginPress.
What Other Options Are Available in the LoginPress Settings Section?
On both LoginPress Free and Pro, you’ll find 2 options, including:
These options give you control over the LoginPress plugin.
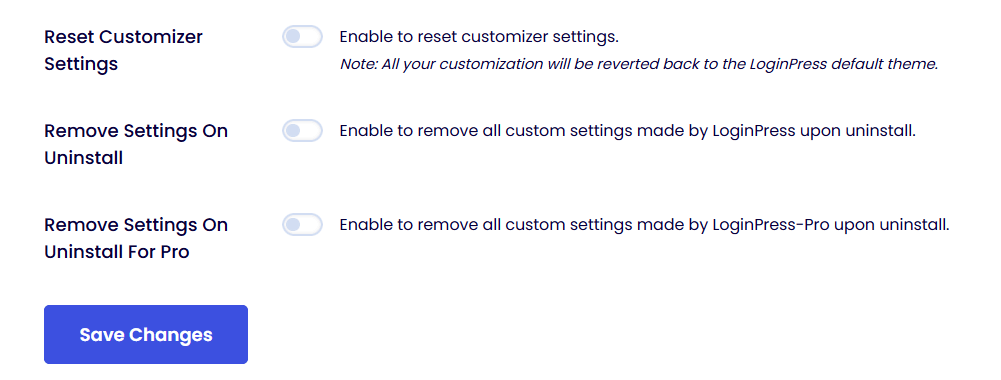
1. Remove Settings on Uninstall
When you uninstall the LoginPress plugin, this option ensures that all the settings and configurations linked with LoginPress will be completely removed from your system.
2. Reset Customizer Settings
This option lets you reset all LoginPress plugin settings to their defaults. It's like a 'restart' button for the plugin's configurations.
3. Remove Settings on Uninstall for Pro
This removes all settings created by LoginPress Pro during installation.
That’s it! We hope you now understand what features are offered by LoginPress free and premium settings.
LoginPress offers a wide range of settings to customize your login experience.
In addition to all this, you can also import/export your settings.
To serve a global audience, you can consider adding a language selector to your login page.
If you have any doubts or questions related to this matter, please don’t hesitate to reach out to our support team.
Frequently Asked Questions (FAQs)
These FAQs answer the most common questions about our WordPress custom login page plugin.

Where can I get support for LoginPress?
If you need help with LoginPress, you can contact us here. We’ll be happy to answer any questions about the plugin.
Do you have an affiliate program?
Yes, we have an affiliate program that you can sign up for here. As an affiliate, you’ll earn a commission on every sale you refer to us.
Do you offer refunds?
Yes, we offer a 14-day money-back guarantee on all of our plans. If you’re unsatisfied with LoginPress, simply contact us within 14 days of your purchase, and we’ll process a refund.
Can I upgrade my license after my initial purchase?
Yes, you can upgrade your LoginPress license at any time. Simply log into your account and go to the My Downloads page. From here, you can upgrade your license and download the latest version of the plugin.
Will LoginPress slow down my website?
No, LoginPress will not slow down your website. The plugin is lightweight and only loads the necessary files when someone tries to access your login page.

If you Still have Questions?
Get In Touch